
The smell of pork shoulder braising low and slow in lard, with just garlic, bay leaves, and orange zest, is something that pulls you right back to a small kitchen in Michoacan, Mexico, where generations have perfected this craft. Authentic carnitas are not just a recipe; they are a labor of love that transforms humble pork into the most tender, flavorful meat you will ever pull apart with a fork.
What makes this dish so special is its simplicity paired with deep, complex flavor that takes hours to develop, not complicated techniques or fancy ingredients. The result is meat so melt-in-your-mouth tender that it falls apart at the slightest touch, ready to be stuffed into warm tortillas with just a squeeze of lime and a handful of cilantro.
Why You’ll Love This Recipe
This recipe delivers restaurant-quality carnitas that taste like they came straight from a street vendor in Mexico City, but you made them in your own kitchen. Once you taste truly authentic carnitas, you will never go back to the rushed versions.
- Incredibly tender, fall-apart meat that shreds itself with a fork.
- Deep, savory flavor from slow braising in lard and aromatics.
- Versatile enough for tacos, nachos, burrito bowls, or even breakfast hash.
- Make-ahead friendly; the meat tastes even better the next day.
- Crispy exterior when pan-fried, creamy interior every single time.
My Experience Making This Recipe
The first time I made carnitas, I was skeptical about using an entire cup of lard, worried it would be heavy or greasy. After the first bite, my concerns vanished completely; the fat rendered into the meat, creating something silky and luxurious rather than oily.
I filled soft corn tortillas and let my family assemble their own with pickled onions, fresh cilantro, and a squeeze of lime. My partner said it tasted exactly like the carnitas from the best taqueria in town, which felt like the highest compliment I could receive.
Now I make a double batch whenever I have time, knowing the leftovers will transform into quick weeknight meals that taste like I spent all day cooking. The aroma alone makes your kitchen feel like a Mexican restaurant, and everyone asks when you are making them again.
Recipe Overview
- Recipe Name: Authentic Carnitas
- Servings: 8 to 10 people
- Prep Time: 15 minutes
- Cook Time: 3.5 to 4 hours
- Total Time: 3 hours 45 minutes to 4 hours 15 minutes
- Course: Main Dish
- Cuisine: Mexican
- Calories per Serving: 385
Equipment You Will Need
- Large, heavy-bottomed pot or Dutch oven with a lid.
- Instant-read meat thermometer.
- Sharp knife for trimming and shredding.
- Cutting board.
- Measuring spoons and cups.
- Slotted spoon for removing meat from fat.
- Large skillet for crisping (optional but recommended).
Ingredients for Authentic Carnitas
- Pork shoulder (bone-in or boneless), 4 to 5 pounds, cut into 3-inch chunks with excess surface fat trimmed.
- Lard, 1 cup (or substitute with vegetable oil if needed).
- Garlic cloves, 8 to 10, peeled and lightly crushed.
- Bay leaves, 4 whole.
- Orange zest, 1 tablespoon, in strips.
- Dried oregano, 2 teaspoons.
- Cumin seeds, 1 teaspoon.
- Salt, 1.5 teaspoons, plus more to taste.
- Black pepper, 0.5 teaspoon, freshly ground.
- Whole cloves, 3 or 4.
Ingredient Notes and Substitutions
- Lard: Traditional carnitas use lard because it renders slowly at low temperature, keeping the meat impossibly tender. If you cannot find lard, use vegetable oil or refined coconut oil, though the flavor will shift slightly.
- Pork shoulder: This cut has enough marbling to stay moist during the long braise. Pork butt works identically and is often the same cut labeled differently.
- Orange zest: The citrus adds brightness that cuts through the richness without overpowering. Lime zest works as a substitute for a sharper, more tangy finish.
- Bay leaves: These add subtle herbal notes that anchor the aromatics. Dried thyme leaves can replace bay in a pinch, though the flavor profile shifts.
- Cumin seeds: These toast slightly during cooking and release their warm, earthy oils. You can swap in pre-ground cumin, but use half the amount since ground spices are more potent.
How to Make Authentic Carnitas
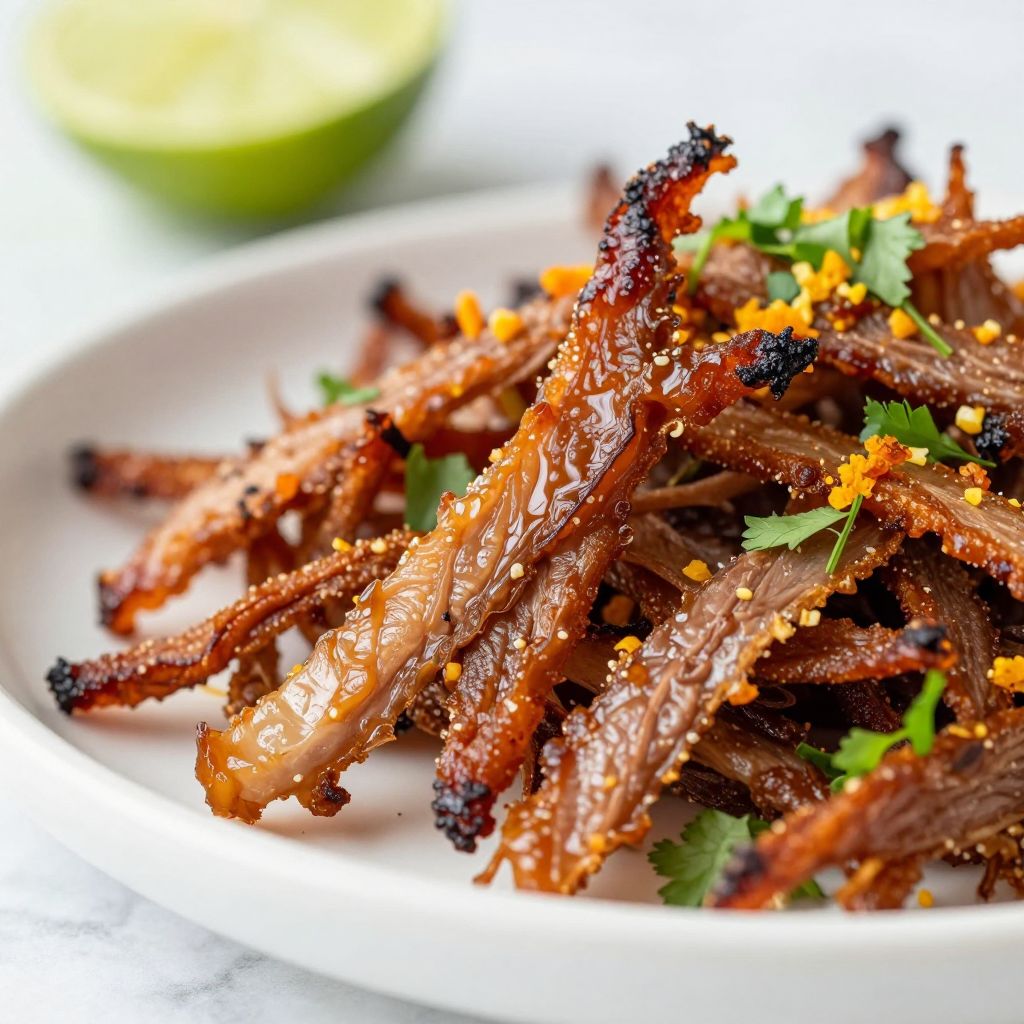
Step 1: Trim and Prepare Your Pork
Cut your pork shoulder into roughly 3-inch chunks, leaving some fat on each piece but removing any excess thick skin. Meat cooked in pieces this size cooks evenly and will shred easily once tender, whereas larger chunks take too long and smaller pieces dry out.
Step 2: Heat the Lard and Toast Your Aromatics
Pour the lard into your pot and warm it over medium heat until it shimmers slightly, about 2 to 3 minutes. Add the crushed garlic, bay leaves, orange zest, cumin seeds, and whole cloves, stirring gently for about one minute until fragrant; this releases their essential oils and builds deeper flavor.
Step 3: Season the Pork Generously
Pat the pork pieces dry with paper towels, then sprinkle them evenly with salt, black pepper, and oregano on all sides. Dry meat browns better, and seasoning it now allows the salt to penetrate the meat rather than sitting on the surface.
Step 4: Brown the Meat (Optional but Recommended)
Carefully lay the pork pieces into the hot lard, working in batches so you do not overcrowd the pot. Let each piece sit undisturbed for 3 to 4 minutes, then flip and brown the other side for another 2 to 3 minutes until golden; browning develops a savory crust and adds complexity, though you can skip this step if time is tight.
Step 5: Add Liquid and Cover
Once all pork is browned and returned to the pot, pour in enough water or chicken broth to come about three-quarters of the way up the meat; you want the pork mostly submerged but not entirely floating. Cover the pot with its lid and bring everything to a gentle simmer.
Step 6: Braise Low and Slow
Reduce heat to the lowest setting (around 200 to 225 degrees Fahrenheit if using the oven, or very low on the stovetop) and let the meat braise undisturbed for 3 to 3.5 hours. Check after 2.5 hours; the pork is done when a fork easily pierces the largest piece and the meat begins falling apart, which means the collagen has converted to gelatin.
Step 7: Remove Meat and Strain the Fat
Using a slotted spoon, carefully lift the pork pieces from the pot and transfer them to a large bowl or cutting board. Strain the remaining liquid through a fine-mesh sieve into a container, discarding the aromatics and reserving the fat; this rendered fat is liquid gold for crisping the carnitas later.
Step 8: Shred and Season to Taste
Once the pork is cool enough to handle, use two forks to pull the meat apart into bite-sized shreds, removing any large pockets of fat or gristle as you go. Taste a piece and add more salt if needed; the seasoning should be bold and savory, not subtle.
Step 9: Crisp the Carnitas (Optional but Highly Recommended)
Heat a large skillet over medium-high heat and add a thin layer of the reserved fat. Working in batches, spread the shredded carnitas in a single layer and let them sit undisturbed for 3 to 4 minutes until the edges turn golden and crispy; stir, then continue cooking for another 2 to 3 minutes until the meat is warmed through and textured throughout.
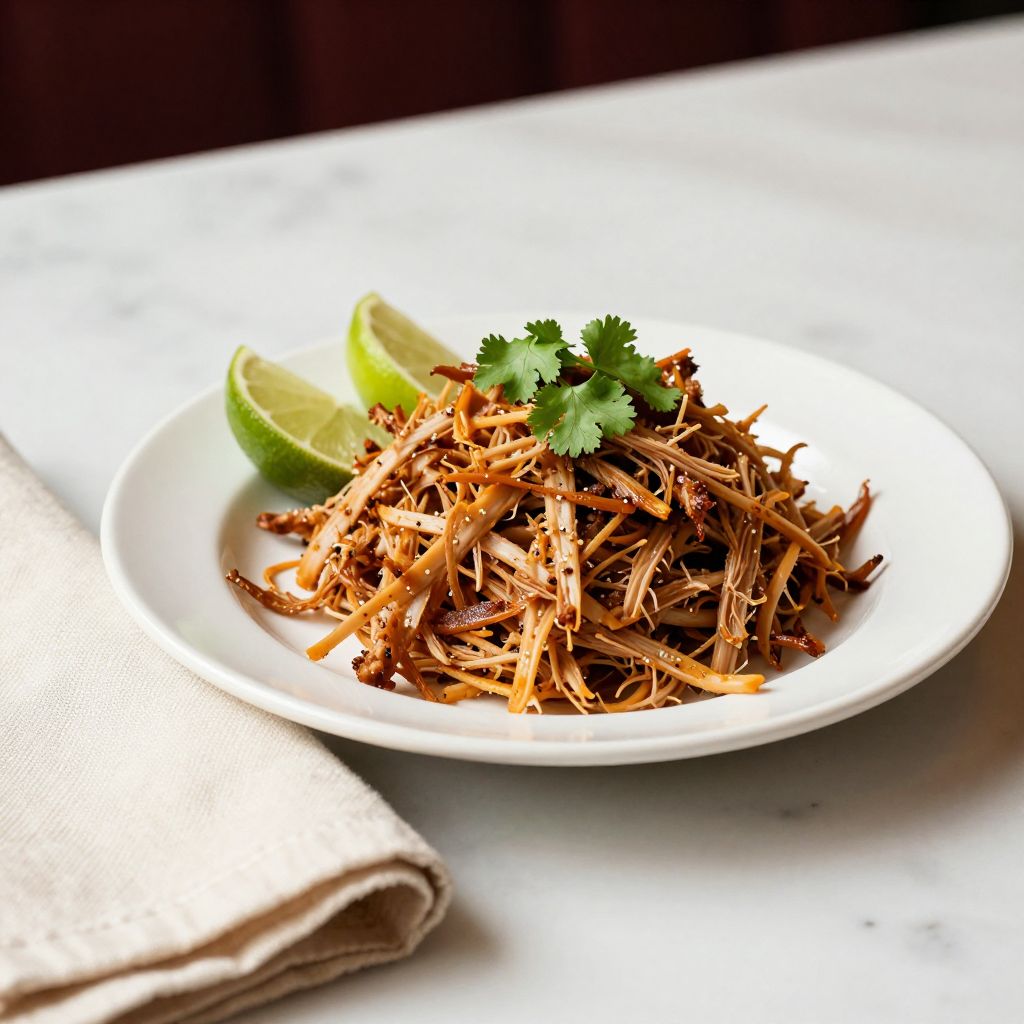
Pro Tip: Do not skip the crisping step if you have time; it transforms the texture from purely tender to a perfect balance of creamy interior with crispy, textured edges that make taco fillings absolutely irresistible.
Tips for the Best Authentic Carnitas
- Use real lard from a butcher or Latin market; it has a higher smoke point and renders differently than oil, resulting in better texture and more authentic flavor.
- Keep the heat low and steady; too much heat causes the liquid to evaporate quickly, leaving you with dried meat rather than the silky, tender result you are after.
- Do not peek constantly; every time you lift the lid, heat escapes and the cooking time extends, so check only once around the 2.5-hour mark.
- Make carnitas the day before if possible; the flavors meld and deepen overnight, and the fat solidifies, making it easier to remove before reheating.
- Shred the meat while it is still warm but cool enough to handle; warm meat shreds more cleanly and evenly than cold meat, which tears and fragments.
Common Mistakes to Avoid
- Cooking at too high a temperature: High heat causes the exterior to toughen before the interior becomes tender, leaving you with chewy rather than melt-in-your-mouth meat.
- Not using enough fat: The fat conducts heat evenly and keeps the meat moist; skimping on it results in dry, stringy carnitas that lack richness.
- Cutting the pork too small: Small pieces cook too quickly and lose moisture, whereas 3-inch chunks allow the interior to stay juicy while the exterior tenderizes.
- Skipping the crisping step entirely: You lose the textural contrast that makes carnitas special; uncrisped meat tastes steamed rather than fully flavored.
- Draining too much fat before serving: Some rendered fat clinging to the meat is essential for flavor and texture; overly lean carnitas taste bland and dry.
Serving Suggestions
Carnitas shine brightest in warm corn tortillas with simple, bright toppings that let the meat take center stage. Fresh lime juice, pickled onions, and cilantro are all you truly need, though a few other options never hurt.
- Soft corn tortillas with pickled red onions, fresh cilantro, and lime wedges for street-style tacos.
- Crispy tortilla cups filled with carnitas, shredded cabbage, radish slices, and crema for a handheld appetizer.
- Over black beans and rice with avocado, pico de gallo, and cotija cheese for a burrito bowl.
- Piled onto crispy tostadas with refried beans, queso fresco, and jalapeño slices.
- Scrambled into eggs with potatoes for a breakfast hash that tastes like a luxury.
Variations to Try
- Carnitas with Pineapple: Add fresh pineapple chunks in the last 30 minutes of cooking for a sweeter, more caramelized flavor that pairs beautifully with habanero chiles.
- Chile-Infused Carnitas: Toast and grind dried guajillo or ancho chiles, then add them to the fat along with the garlic; this adds subtle heat and earthy depth without spiciness.
- Carnitas Confit Style: Keep the meat submerged entirely in fat the entire time and finish at a slightly lower temperature for an even silkier, more luxurious texture.
- Citrus Blend: Use orange zest, lime zest, and a touch of lemon zest together instead of just orange for a more complex, brighter citrus profile.
- Spiced Carnitas: Add a teaspoon of smoked paprika and a pinch of cinnamon to the fat for warmth and subtle smoky undertones.
Dietary Adaptations
- Gluten-Free: This recipe is naturally gluten-free; just ensure your bay leaves and any store-bought spice blends have no additives or cross-contamination.
- Dairy-Free: Carnitas contain no dairy by nature, making them perfect for dairy-free diets; skip any crema or cheese toppings if needed.
- Vegan/Vegetarian: Substitute pork with hearty vegetables like mushrooms, jackfruit, or cauliflower, braising them in vegetable oil with the same aromatics for a plant-based version with comparable texture.
- Low-Carb/Keto: Carnitas fit perfectly into low-carb plans; just skip tortillas and serve with cauliflower rice, lettuce cups, or over roasted vegetables instead.
Storage and Reheating
Refrigerator
Store carnitas in an airtight container, covered completely by the rendered fat, which acts as a seal and keeps the meat fresh.
- Lasts up to 5 days when stored under fat in the refrigerator.
- The fat will solidify and turn white, protecting the meat underneath.
- Remove only what you need and return the rest immediately to the cold.
Freezer
Carnitas freeze beautifully in their fat, maintaining quality for months.
- Freeze in an airtight container or freezer bag for up to 3 months.
- Fat prevents freezer burn and keeps the meat incredibly moist when thawed.
- Thaw in the refrigerator overnight before reheating.
Reheating
Revive your carnitas so they taste freshly made by using gentle heat and the reserved fat.
- In a skillet over medium heat, add carnitas with a spoonful of reserved fat and warm until heated through, about 5 to 7 minutes, stirring occasionally.
- In the oven, spread carnitas in a baking dish, pour fat over top, cover with foil, and warm at 325 degrees Fahrenheit for 15 to 20 minutes.
- Do not use high heat, which dries the meat; low and gentle reheating preserves the tender texture.
Nutrition Information
| Nutrient | Amount |
|---|---|
| Calories | 385 |
| Total Fat | 28 grams |
| Saturated Fat | 11 grams |
| Carbohydrates | 1 gram |
| Fiber | 0 grams |
| Sugar | 0 grams |
| Protein | 42 grams |
| Sodium | 520 milligrams |
| Cholesterol | 145 milligrams |
This nutrition information is calculated per serving based on 8 servings per recipe and includes the rendered fat used during cooking. Individual values may vary depending on how much of the cooking fat you consume with the finished dish.
Frequently Asked Questions
Can I use a slow cooker or Instant Pot instead of a regular pot?
Yes, both work well; use a slow cooker on low for 6 to 8 hours or an Instant Pot on high pressure for 90 minutes followed by a natural release. The texture will be equally tender, though you lose the option to brown the meat first for extra flavor depth.
What if I cannot find lard at my butcher?
You can render your own lard from pork fat by slowly cooking diced pork fat over low heat for 1 to 2 hours, then straining; this gives you pure, flavorful lard. Vegetable oil or refined coconut oil work in a pinch, but the final flavor will be less rich and authentic.
Can I make carnitas without browning the meat first?
Yes, you can skip browning to save time; the meat will still be tender and delicious, though slightly less flavorful since browning develops savory depth through the Maillard reaction. The texture and tenderness remain identical.
Why is my carnitas meat tough instead of tender?
Tough meat usually results from cooking at too high a temperature, which causes the exterior to firm up before the interior tenderizes. Lower your heat to barely a simmer and give the pork the full 3 to 3.5 hours it needs.
Can I make carnitas ahead of time for a party?
Absolutely; carnitas taste even better made 1 to 2 days ahead, and you can reheat them gently in the oven just before serving. This also gives you time to crisp them in a skillet right before guests arrive, so they taste freshly made.
Should I use bone-in or boneless pork shoulder?
Either works perfectly; bone-in adds slight extra flavor from the bone marrow, while boneless is easier to shred and yields slightly more usable meat per pound. Choose based on what your butcher has available.
Final Thoughts
Authentic carnitas might look intimidating with their long cook time, but they require almost no hands-on work once the pot reaches a gentle simmer. You are simply letting time and gentle heat do what they do best: transform inexpensive pork into something restaurant-quality and unforgettable.
Make a batch this weekend, and you will understand why carnitas are beloved across Mexico and beyond. Your kitchen will smell incredible, your family will ask when you are making them again, and you will realize that this recipe belongs in your regular rotation forever.
If you love authentic Mexican flavors, you should also explore the bright, herbaceous goodness of authentic chimichurri recipe to serve alongside your carnitas, and do not miss our chicken street tacos recipe for another quick Mexican favorite that pairs beautifully with these techniques you have now mastered.
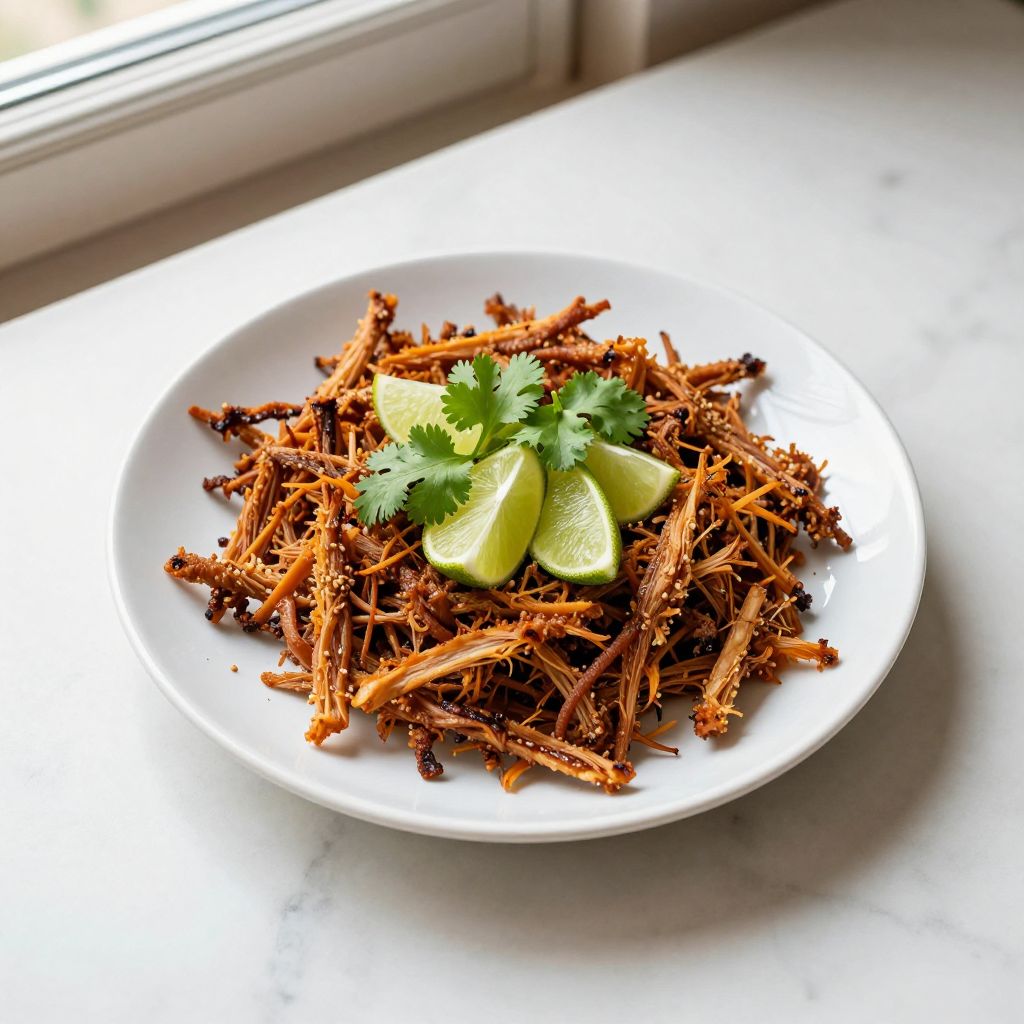
Authentic Carnitas
Ingredients
Equipment
Method
- Trim the pork shoulder into 3-inch chunks, removing any excess thick skin but leaving some fat on each piece for moisture.
- Heat 1 cup lard in a large pot over medium heat until it shimmers, about 2 to 3 minutes.
- Add garlic cloves, bay leaves, orange zest, cumin seeds, and whole cloves and stir for 1 minute until fragrant.
- Pat the pork pieces dry and season evenly with salt, black pepper, and oregano on all sides.
- Working in batches, brown the pork in the hot lard for 3 to 4 minutes per side until golden, then transfer back to the pot.
- Pour in enough water or chicken broth to cover three-quarters of the meat, then cover the pot and bring to a gentle simmer.
- Reduce heat to low (around 200 to 225°F in the oven or lowest stovetop setting) and braise, covered, for 3 hours and 45 minutes without lifting the lid.
- Remove the pork with a slotted spoon and strain the liquid through a fine-mesh sieve, reserving the rendered fat.
- Shred the pork with two forks into bite-sized pieces and season to taste with additional salt if needed.
- Optional: In a large skillet over medium-high heat, add a thin layer of reserved fat and crisp the shredded pork in batches for 3 to 4 minutes per side until edges are golden.