
Imagine a rich and creamy sweet treat that instantly takes you back to your childhood—those blissful moments of diving into a candy bar that melts in your mouth. The Butterfinger Balls Recipe brings that nostalgic flavor right to your kitchen, offering a delightful mix of chocolate and peanut butter that’s hard to resist. These no-bake confections are not only easy to whip up but also make for perfect gifts or party treats, with their satisfying crunch and sweet, smooth texture. Let’s roll up our sleeves and get started!
Why You’ll Love This Recipe
This recipe is a delightful balance of taste and simplicity.
- Quick preparation makes these a last-minute indulgence.
- Rich, peanut buttery flavor with a satisfying crunch.
- No baking required, keeping your kitchen cool.
- Perfect for parties, potlucks, or just for yourself.
- Great for customizing with different coatings or toppings.
My Experience Making This Recipe
The first time I made these Butterfinger Balls, my kitchen was filled with the irresistible aroma of melting chocolate. I couldn’t help but sneak a few bites before they even chilled—who can resist a taste test?
Watching family and friends devour them was pure joy. It felt like I was sharing a piece of my childhood with them, and those smiles were worth every minute spent in the kitchen.
Recipe Overview
- Recipe Name: Butterfinger Balls
- Servings: 24 balls
- Prep Time: 20 minutes
- Cook Time: 0 minutes
- Total Time: 20 minutes
- Course: Dessert
- Cuisine: American
- Calories per Serving: 120
Equipment You Will Need
- Mixing bowl
- Electric mixer or wooden spoon
- Cookie sheet
- Parchment paper
- Microwave-safe bowl
- Spatula
Ingredients for Butterfinger Balls
- 1 cup creamy peanut butter
- 1 cup powdered sugar
- 1 cup crushed Butterfinger bars (about 4 bars)
- 1 ½ cups semisweet chocolate chips
- 1 tablespoon vegetable oil
Ingredient Notes and Substitutions
- Creamy peanut butter: This provides the smooth base; you can use crunchy for added texture.
- Powdered sugar: This helps to sweeten and bind; granulated sugar can be used but may change texture.
- Crushed Butterfinger bars: They add that signature flavor; other candy bars can work in a pinch.
- Semisweet chocolate chips: Essential for coating; dark or milk chocolate can also be used depending on preference.
- Vegetable oil: This helps smooth out the chocolate; coconut oil is a great alternative.
How to Make Butterfinger Balls
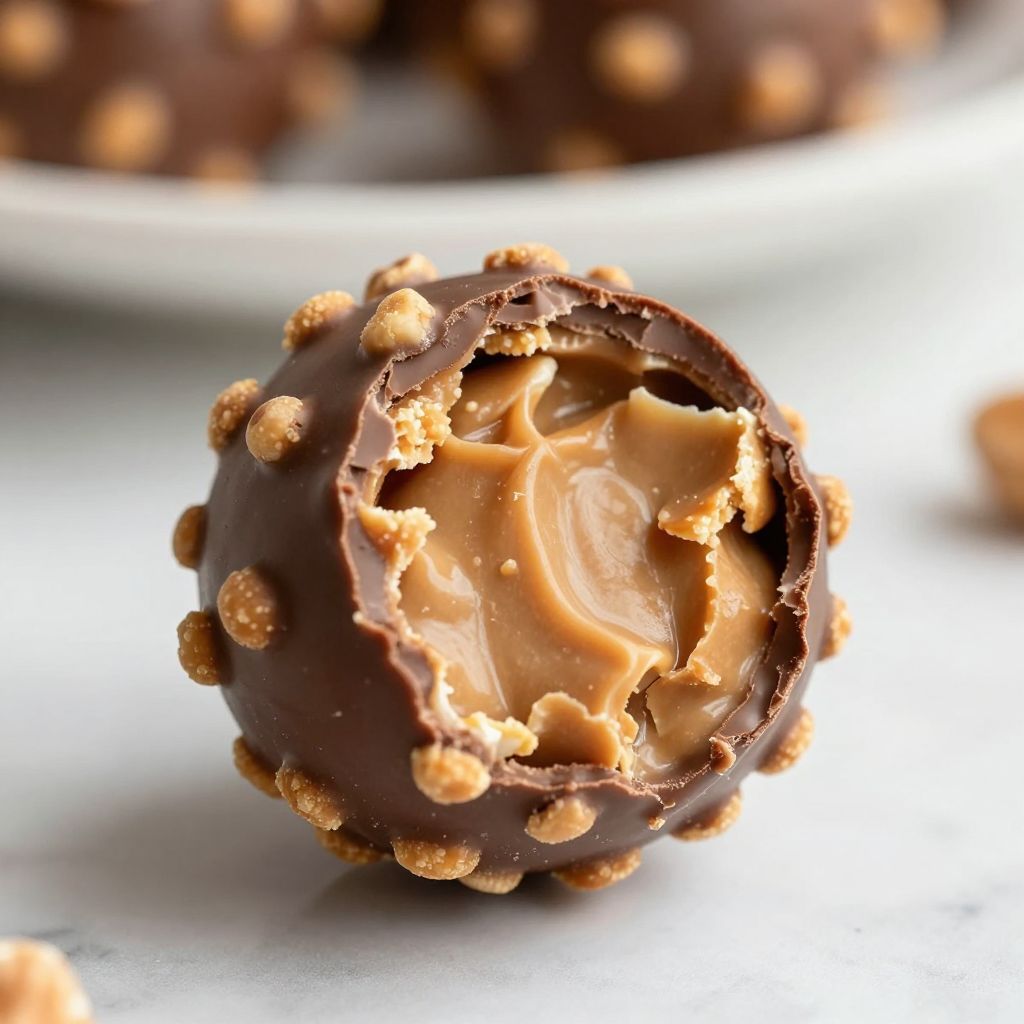
Step 1: Mix Peanut Butter and Sugar
In a mixing bowl, combine the peanut butter and powdered sugar. The sugar helps to stiffen the mixture for easy shaping.
Step 2: Add Crushed Butterfingers
Stir in the crushed Butterfinger bars until thoroughly mixed. This ensures every bite is packed with flavor.
Step 3: Form Balls
Using your hands, roll the mixture into small balls, about one inch in diameter. This step is where the fun happens, just remember to keep them uniform for even coating.
Step 4: Chill the Balls
Place the balls on a cookie sheet lined with parchment paper and refrigerate for 30 minutes. Chilling helps them firm up before the chocolate coating.
Step 5: Melt the Chocolate
In a microwave-safe bowl, combine the chocolate chips and vegetable oil. Heat in 30-second intervals, stirring until smooth—this prevents burning your chocolate.
Step 6: Coat the Balls
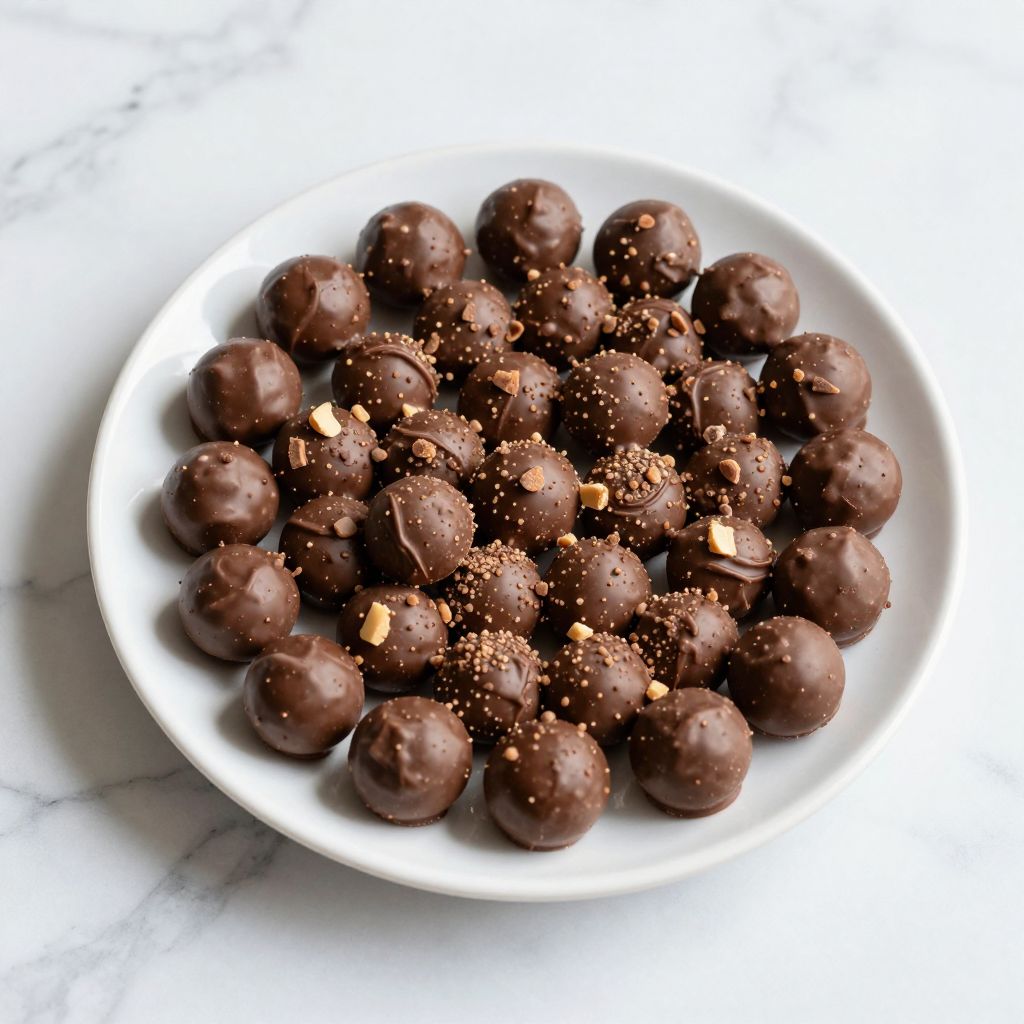
Dip each chilled ball into the melted chocolate using a fork, allowing excess chocolate to drip off. This creates a luscious outer layer that contrasts perfectly with the crunch inside.
Step 7: Set the Coated Balls
Return the coated balls to the parchment-lined sheet. They’ll need a few minutes to set up and harden, so be patient.
Step 8: Enjoy Your Treats
Once the chocolate is set, they are ready to be enjoyed. Store any leftovers in the refrigerator, though good luck keeping them around!
Pro Tip: Use high-quality chocolate for coating; it makes a big difference in taste and texture.
Tips for the Best Butterfinger Balls
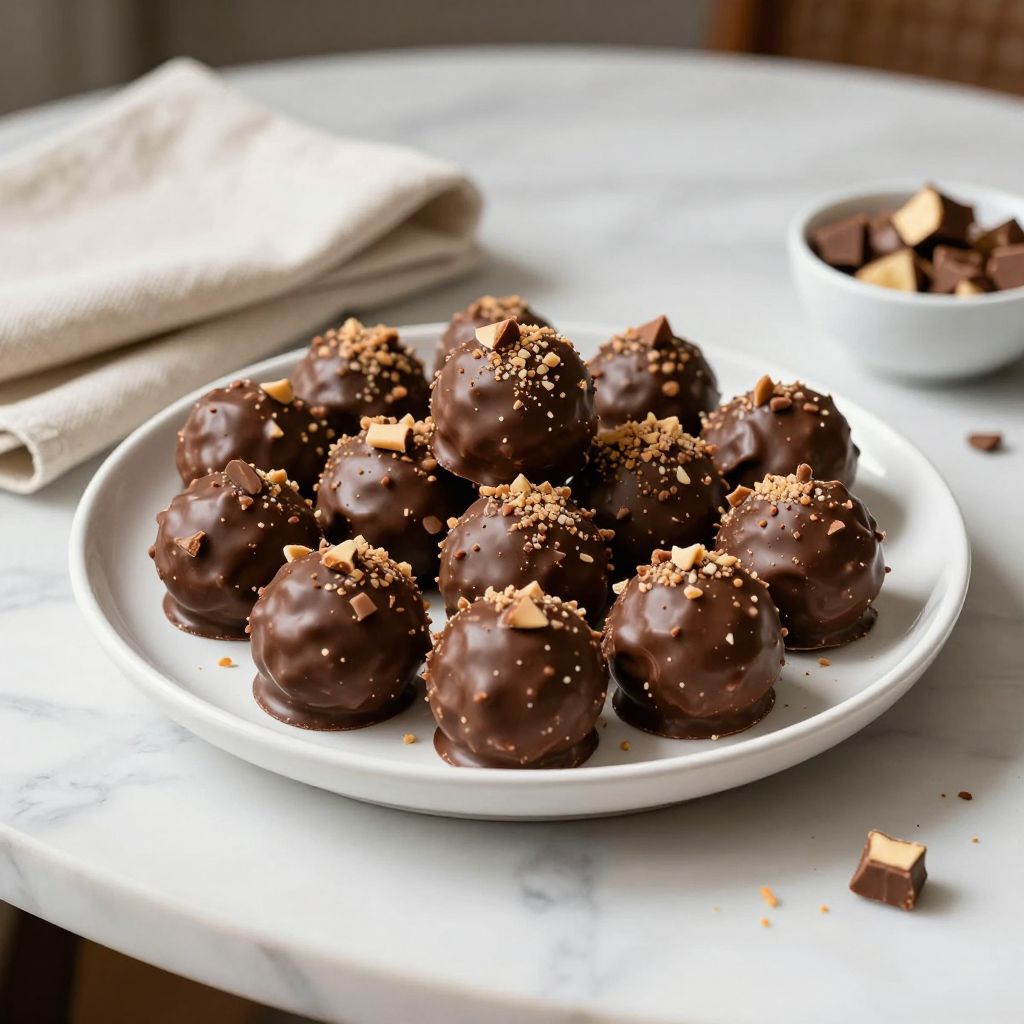
- For extra flavor, sprinkle some crushed Butterfinger on top after coating with chocolate.
- Ensure your peanut butter is well-mixed to avoid oil separation.
- Chill the balls before coating; it makes handling them easier.
- Use a double boiler for melting chocolate if you prefer not to use the microwave.
- Play around with candy bar brands for different flavor profiles.
Common Mistakes to Avoid
- Not chilling the mixture before rolling can lead to sticky hands and misshapen balls.
- Overheating the chocolate can make it grainy, so watch it closely.
- Not using enough powdered sugar may result in a runny mixture.
- Skipping the oil can lead to a thick chocolate coating that won’t adhere well.
Serving Suggestions
Enjoy these Butterfinger Balls alongside a cozy cup of coffee or even as a movie-night snack. Consider the following pairings:
- A scoop of vanilla ice cream for a delightful dessert.
- Hot chocolate to enhance those chocolate flavors.
- Whipped cream for topping off other desserts.
- Fresh fruit as a refreshing contrast.
Variations to Try
- Use almond butter for a twist on the recipe.
- Try coating them in white chocolate for a different flavor.
- Add a pinch of sea salt to the chocolate for a sweet-salty contrast.
- Incorporate chopped nuts for an added crunch texture.
Dietary Adaptations
- Gluten-free: Naturally gluten-free, just check your candy bar labels.
- Dairy-free: Use dairy-free chocolate chips for a vegan option.
- Vegan: Choose vegan chocolate and replace with maple syrup instead of traditional sugar.
- Low-carb/keto: Substitute powdered sugar with a keto-friendly sweetener.
Storage and Reheating
Refrigerator
Store the Butterfinger Balls in an airtight container in the fridge for up to one week.
- Layer between sheets of parchment paper to prevent sticking.
Freezer
These treats freeze beautifully for up to three months.
- Wrap individually in plastic wrap to prevent freezer burn.
Reheating
No need to reheat these sweet treats, just thaw in the fridge before enjoying.
- Let them sit out for a few minutes at room temperature for the best texture.
Nutrition Information
| Nutrient | Amount |
|---|---|
| Calories | 120 |
| Total Fat | 7g |
| Saturated Fat | 3g |
| Carbohydrates | 12g |
| Fiber | 0g |
| Sugar | 10g |
| Protein | 2g |
| Sodium | 50mg |
| Cholesterol | 0mg |
This nutritional information is an estimate and can vary based on ingredients and portion sizes.
Frequently Asked Questions
Can I make these in advance?
Absolutely! They can be made up to a week in advance and stored in the fridge.
What can I substitute for melted chocolate?
Feel free to use candy melts or almond bark as a coating if you prefer.
How do I store leftovers?
Keep them in an airtight container in the fridge to maintain freshness.
Why are my balls falling apart?
This could be due to too little powdered sugar; ensure you’re adding the right amount for structure.
Can I use other candies?
Sure! Experimenting with different crushed candies can lead to delicious results.
Final Thoughts
Making Butterfinger Balls brings back memories of carefree days spent enjoying simple pleasures. They are deliciously easy to create and surely a hit at any gathering.
So why not bring some joy into your kitchen and whip up a batch? After all, who can say no to a sweet treat like this?
For more sweet inspiration, check out our Butterfinger Balls Recipe or try our delicious Butterfinger Cake Recipe. Happy cooking!
Butterfinger Balls
Ingredients
Equipment
Method
- In a mixing bowl, combine 1 cup creamy peanut butter and 1 cup powdered sugar until smooth.
- Stir in 1 cup crushed Butterfinger bars (about 4 bars) until evenly distributed.
- Using your hands, roll the mixture into 24 balls, about 1 inch in diameter.
- Place balls on a parchment-lined cookie sheet and refrigerate for 30 minutes to firm up.
- In a microwave-safe bowl, combine 1 1/2 cups semisweet chocolate chips and 1 tablespoon vegetable oil. Melt in 30-second intervals, stirring until smooth.
- Dip each chilled ball into the melted chocolate, letting excess drip off, then return to the parchment-lined sheet.
- Let the coated balls set at room temperature for 10 minutes or refrigerate for 5 minutes until the chocolate hardens.
- Serve immediately or store leftovers in an airtight container in the refrigerator for up to one week.