
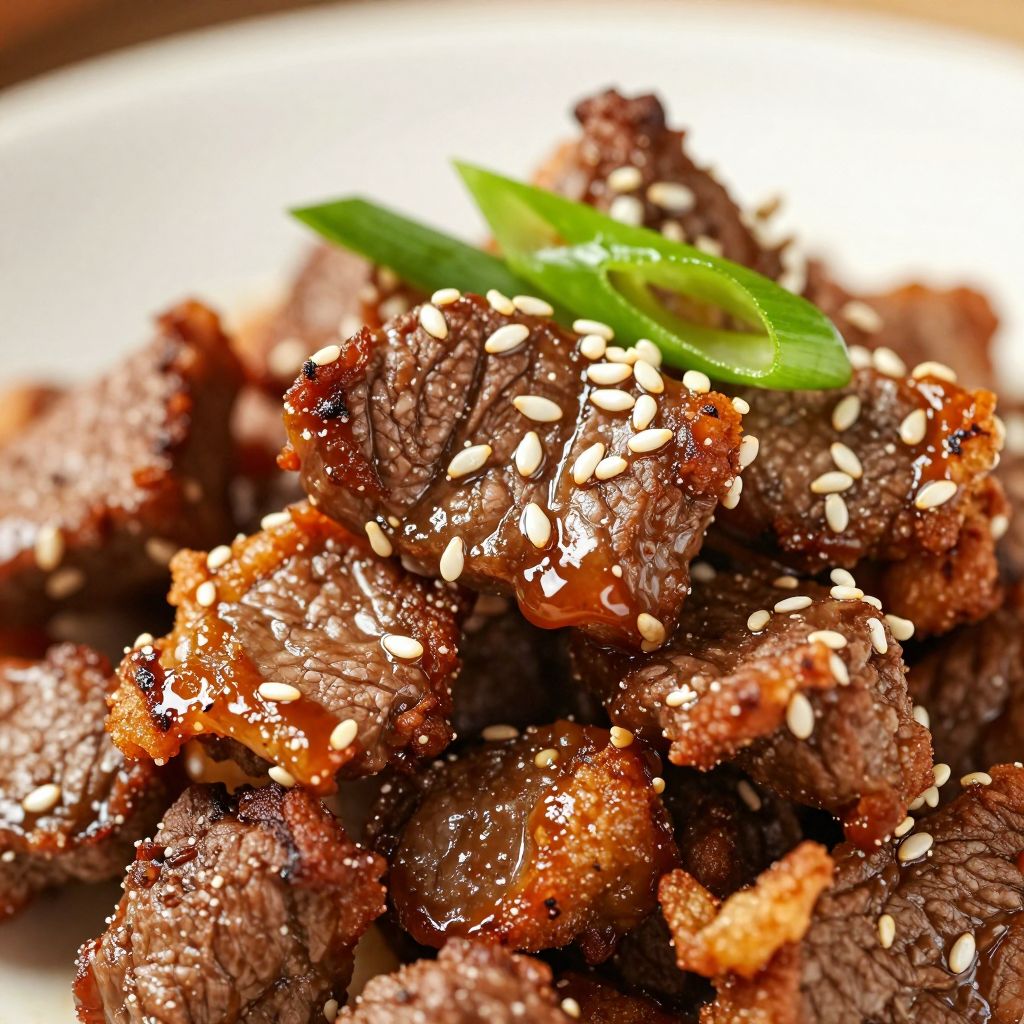
The sizzle of ground beef hitting a hot skillet, the way sweet and savory sauce coats each tender morsel, and that first bite of crispy edges with soft centers: that’s the magic of Mongolian Ground Beef.
This isn’t authentic Mongolian cuisine, but it’s something better for weeknight dinners: a restaurant-quality takeout copycat that tastes absolutely incredible and comes together in under 30 minutes.
What makes this dish shine is the balance of bold, umami-rich flavors paired with a silky sauce that clings to every piece of meat, plus the textural contrast of crispy beef against soft rice or noodles.
If you’ve craved that restaurant version but want to skip the delivery fee and sodium overload, you’re about to become a convert to homemade Mongolian beef.
Why You’ll Love This Recipe
This dish delivers restaurant-quality flavor in your own kitchen without the price tag or mystery ingredients.
- Ready in under 30 minutes from start to finish
- Uses simple pantry staples you likely already have on hand
- Naturally gluten-free friendly with one easy swap
- Scales up effortlessly for feeding a crowd
- Leftovers taste even better the next day
My Experience Making This Recipe
I first made this recipe on a Tuesday when my kids begged for takeout but the budget said no. I had ground beef thawing, soy sauce in the pantry, and just enough brown sugar to make it work.
The moment the sauce hit the hot beef, my kitchen smelled like the restaurant down the street. My eight-year-old asked if we’d ordered delivery without him knowing.
Since then, I’ve made it easily 20 times. It’s become my go-to when I need dinner fast but don’t want to feel like I’m taking shortcuts.
Recipe Overview
- Recipe Name: Mongolian Ground Beef
- Servings: 4
- Prep Time: 10 minutes
- Cook Time: 15 minutes
- Total Time: 25 minutes
- Course: Main Dish
- Cuisine: Asian-Inspired
- Calories per Serving: 380
Equipment You Will Need
- Large skillet or wok
- Medium mixing bowl
- Measuring spoons and cups
- Wooden spoon or silicone spatula
- Whisk
- Cutting board and knife
Ingredients for Mongolian Ground Beef
For the Beef
- 1.5 pounds ground beef (80/20 blend works best)
- 2 tablespoons vegetable oil
- 1/4 teaspoon salt
- 1/4 teaspoon black pepper
For the Sauce
- 1/4 cup soy sauce
- 1/4 cup brown sugar, packed
- 3 tablespoons rice vinegar
- 2 tablespoons hoisin sauce
- 1 tablespoon sesame oil
- 4 garlic cloves, minced
- 1 teaspoon ginger, freshly minced
- 1/4 teaspoon red pepper flakes (optional, for heat)
- 2 tablespoons cornstarch
- 3 tablespoons water
For Serving
- 3 green onions, sliced thin
- 1 tablespoon sesame seeds
- Steamed rice or noodles
Ingredient Notes and Substitutions
- Ground Beef: The 80/20 ratio gives you enough fat for flavor and browning without greasiness. Ground pork or turkey work as substitutes, though beef creates that deep umami this dish needs.
- Soy Sauce: This is your umami base, bringing that savory depth restaurants rely on. Tamari is a gluten-free swap with nearly identical flavor.
- Brown Sugar: It balances the salty-savory elements and caramelizes slightly in the sauce. White sugar works but lacks the molasses complexity.
- Hoisin Sauce: This adds a subtle sweetness and depth that soy alone cannot provide. You can skip it if needed, but add an extra tablespoon of soy and a pinch of molasses instead.
- Sesame Oil: A small amount goes a long way for that toasted, nutty finish. It’s worth buying a bottle; a little lasts months.
- Rice Vinegar: The acidity cuts through richness and brightens the sauce. White vinegar is sharper but works in a pinch; use slightly less.
How to Make Mongolian Ground Beef
Step 1: Make Your Sauce Base
In a medium bowl, whisk together soy sauce, brown sugar, rice vinegar, hoisin sauce, and sesame oil. Stir until the sugar dissolves completely and the mixture is smooth.
Combining these wet ingredients first prevents lumps from forming when you add the beef later, and it gives the flavors time to meld slightly.
Step 2: Prep Your Aromatics
Mince four garlic cloves and finely mince one teaspoon of fresh ginger, then add both to your sauce bowl. Whisk again to distribute them evenly.
Fresh garlic and ginger create a warm, aromatic backbone that separates homemade from bottled takeout sauce.
Step 3: Heat Your Skillet
Place a large skillet over medium-high heat and add two tablespoons of vegetable oil, letting it shimmer for about one minute. You want the pan quite hot so the beef browns properly instead of steaming.
A properly heated skillet is non-negotiable for developing the crispy, caramelized edges that make this dish crave-worthy.
Step 4: Brown the Ground Beef
Add the 1.5 pounds of ground beef to the hot skillet, breaking it up into small crumbles with your wooden spoon as it cooks. This takes about 5 to 7 minutes and should smell deeply savory.
You’re looking for golden-brown edges and no pink remaining; beef that’s fully cooked ensures both food safety and optimal texture in the final dish.
Step 5: Drain Excess Fat
Once the beef is fully browned, carefully pour off most of the rendered fat, leaving just a thin coating in the pan. Use a slotted spoon to lift the meat slightly while you pour.
Draining excess fat keeps the sauce from becoming greasy while preserving the meaty flavor that gives this dish its appeal.
Step 6: Create Your Cornstarch Slurry
In a small bowl or measuring cup, whisk together two tablespoons cornstarch and three tablespoons water until completely smooth with no lumps. Set this nearby so it’s ready to pour.
The slurry thickens your sauce to a glossy, coat-the-meat consistency that makes this dish taste like takeout.
Step 7: Pour in the Sauce and Simmer
Lower the heat to medium and pour your prepared sauce over the browned beef, stirring constantly for about one minute to coat everything evenly. Then pour in the cornstarch slurry while stirring, watching as the sauce thickens.
The sauce will go from thin and separated to silky and cohesive in about 30 seconds; stir constantly to prevent lumps and ensure even cooking.
Step 8: Finish with Aromatics and Heat
Taste your beef and add red pepper flakes if you want heat, then simmer for 2 to 3 minutes more, stirring occasionally. The sauce should coat the back of a spoon and smell incredibly fragrant.
This final simmer marries all the flavors together and gives the cornstarch time to fully set, creating that restaurant-quality finish.
Pro Tip: Don’t skip the cornstarch slurry; that glossy, clingy sauce is what transforms simple browned beef into something you’d order again and again.
Tips for the Best Mongolian Ground Beef
- Use 80/20 ground beef for the right fat-to-meat ratio; leaner beef tastes dry, fattier beef leaves you with a greasy sauce.
- Mince your garlic and ginger fresh rather than using jars; the difference in flavor is noticeable and worth the 30 seconds of prep.
- Don’t skip browning the beef properly; rushing this step means you miss out on the caramelized, crispy edges that make this dish special.
- Have all your ingredients prepped and measured before you start cooking; this sauce comes together fast, and scrambling mid-recipe leads to mistakes.
- Taste as you go and adjust the sauce to your preference; if it’s too sweet, add a splash more vinegar; too salty, add a touch more brown sugar.
- Serve immediately over rice or noodles while the sauce is still warm and glossy for the best eating experience.
Common Mistakes to Avoid
- Using ground beef that’s too lean results in dry, tough meat with a grainy texture that won’t absorb sauce properly.
- Overcrowding the skillet while browning the beef causes steaming instead of browning, leaving you with gray meat instead of caramelized edges.
- Skipping the cornstarch slurry leaves you with thin, runny sauce that slides off the meat instead of clinging to it.
- Adding sauce to cold beef or letting it sit too long before serving makes the beef firm up as the sauce cools, losing that tender texture.
- Using bottled pre-minced garlic and ginger creates a flat, one-note flavor that pales compared to fresh; it’s really worth the extra effort.
Serving Suggestions
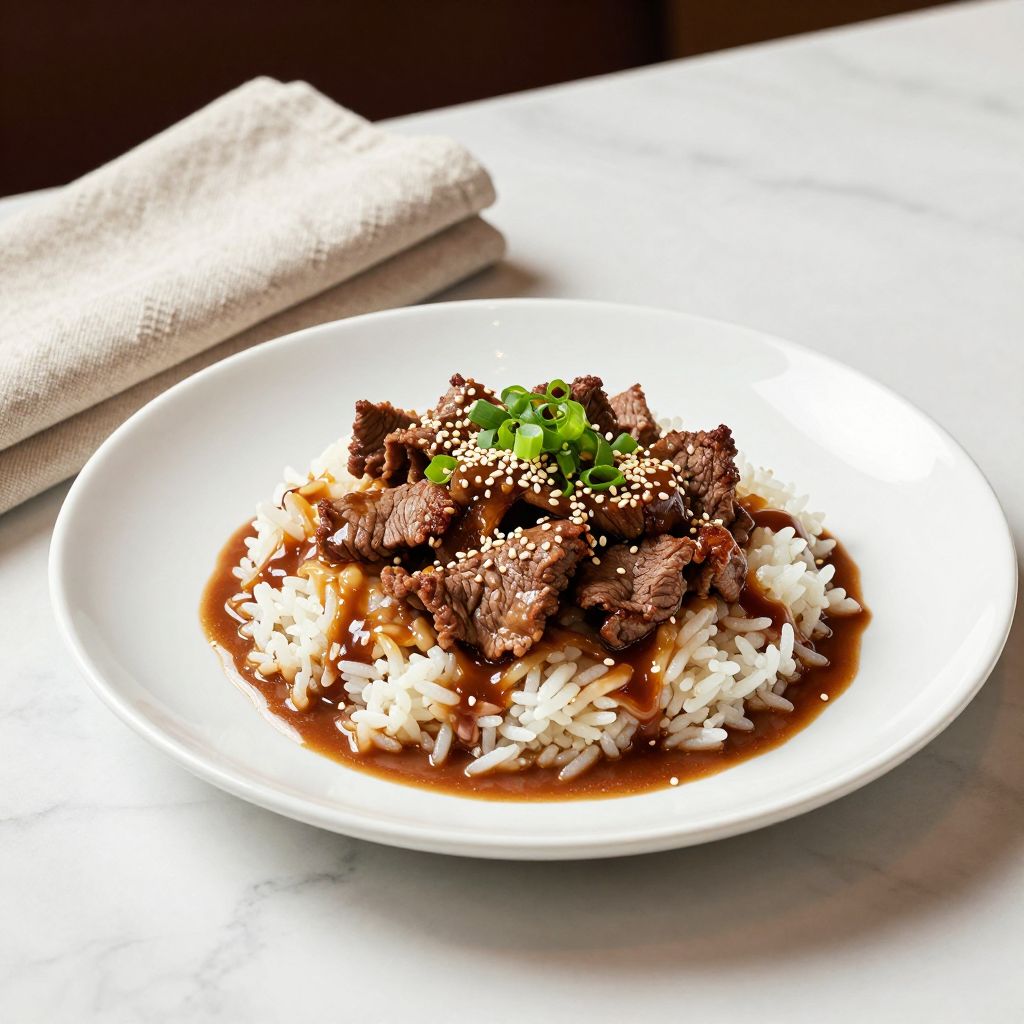
This dish shines served over steamed white rice, brown rice, or crispy chow mein noodles that soak up every drop of sauce. The key is having something to catch all that delicious liquid gold.
- Steamed jasmine rice for a traditional, light accompaniment
- Crispy chow mein noodles for textural contrast and extra richness
- Cauliflower rice for a low-carb, keto-friendly option
- Soft egg noodles tossed with a touch of sesame oil for comfort food vibes
- Simple steamed broccoli on the side for vegetables without competing with the main flavors
Variations to Try
- Spicy Version: Add a tablespoon of sriracha or a teaspoon of crushed red pepper flakes to the sauce for a serious kick without losing the original flavor profile.
- Orange Mongolian Beef: Swap out one tablespoon of the rice vinegar for fresh orange juice and add a teaspoon of orange zest to create brightness and subtle citrus notes.
- Pineapple Version: Add half a cup of diced fresh pineapple or canned pineapple chunks in the last minute of cooking for tropical sweetness that pairs beautifully with the savory sauce.
- Vegetable-Loaded: Toss in diced bell peppers, snap peas, or mushrooms during the final simmer to add nutrition and texture without changing the core flavor.
- Slow Cooker Version: Brown the beef first, then transfer everything to a slow cooker on low for 4 hours; skip the cornstarch until the last 30 minutes for the same finished result.
Dietary Adaptations
- Gluten-Free: Swap regular soy sauce for tamari and ensure your hoisin sauce is certified gluten-free; the rest of the recipe stays exactly the same with zero flavor loss.
- Dairy-Free: This recipe is naturally dairy-free, though be sure your hoisin and soy sauce don’t contain hidden dairy; read labels to be certain.
- Vegetarian/Vegan: Replace ground beef with crumbled firm tofu or lentil-based plant meat; the sauce works beautifully with these swaps, though texture differs slightly.
- Low-Carb/Keto: Replace brown sugar with monk fruit sweetener or erythritol in a 1:1 ratio; serve over cauliflower rice or zucchini noodles instead of traditional rice.
Storage and Reheating
Refrigerator
Store leftover Mongolian ground beef in an airtight container for up to four days. The sauce thickens considerably as it cools, which is perfectly normal.
- Keep the beef and sauce together in the same container
- Don’t store it with rice or noodles; keep components separate to prevent sogginess
Freezer
This dish freezes beautifully for up to three months in a freezer-safe container or heavy-duty zip-top bag. Leave a bit of headspace if using a container, as the sauce expands slightly when frozen.
- Thaw overnight in the refrigerator before reheating
- Frozen beef tastes just as good as fresh; no quality loss at all
Reheating
Thaw leftovers in the refrigerator and reheat gently over medium heat in a skillet, stirring often for about 5 minutes. You can also microwave individual portions at 50 percent power for 2 to 3 minutes, stirring halfway through.
- Add a splash of water if the sauce seems too thick after reheating
- Reheat over low heat to prevent the sauce from breaking or the meat from toughening
Nutrition Information
| Nutrient | Amount |
|---|---|
| Calories | 380 |
| Total Fat | 18g |
| Saturated Fat | 7g |
| Carbohydrates | 24g |
| Fiber | 0g |
| Sugar | 18g |
| Protein | 32g |
| Sodium | 950mg |
| Cholesterol | 80mg |
Nutrition values are estimates based on USDA data for a standard serving of four portions. Restaurant versions typically contain 20 to 30 percent more sodium, so making this at home lets you control that variable entirely.
Frequently Asked Questions
Can I make this recipe with ground turkey or chicken instead of beef?
Absolutely, though the flavor profile shifts slightly toward lighter and less rich. Ground turkey works particularly well since it has enough fat to brown properly; reduce cooking time by 1 to 2 minutes since it cooks faster than beef.
How can I make this recipe ahead of time for meal prep?
Brown the beef and prepare the sauce separately, then store both in the refrigerator for up to three days. Combine them when you’re ready to eat by reheating the beef, then pouring in the cold sauce and simmering for 3 to 4 minutes until thickened.
Why is my sauce runny instead of thick and glossy?
This usually means the cornstarch slurry wasn’t whisked thoroughly before adding, or it was added to sauce that wasn’t quite hot enough. Make sure your skillet is actively simmering when you pour in the slurry, and stir constantly for at least 30 seconds.
Can I make this in a slow cooker instead of on the stovetop?
Yes, brown the beef first, then combine everything except the cornstarch slurry in a slow cooker on low for 4 hours. Make your slurry and stir it in during the last 30 minutes of cooking, then simmer on high until thickened.
What’s the difference between this and regular Chinese takeout Mongolian beef?
Restaurant versions often use thinly sliced beef, beef tenderloin, or flank steak, then deep-fry it before saucing. Using ground beef is faster, more budget-friendly, and honestly tastes just as good to most people when you nail the browning and sauce.
Final Thoughts
This Mongolian Ground Beef recipe proves you don’t need fancy equipment, exotic ingredients, or a culinary degree to make restaurant-quality food at home. You just need 25 minutes, ground beef, and pantry staples you probably already have.
Your next dinner is just a hot skillet and some good sauce away. Make it tonight and skip the delivery fee.
If you enjoyed this recipe, explore more satisfying ground beef dishes like ground beef and broccoli for weeknight variety, or try hamburger steak for a comforting, elevated take on classic ground beef cooking.
Mongolian Ground Beef
Ingredients
Equipment
Method
- In a bowl, whisk together 1/4 cup soy sauce, 1/4 cup packed brown sugar, 3 tablespoons rice vinegar, 2 tablespoons hoisin sauce and 1 tablespoon sesame oil until the sugar dissolves.
- Add 4 minced garlic cloves and 1 teaspoon freshly minced ginger to the sauce and whisk to combine.
- Heat a large skillet over medium-high heat and add 2 tablespoons vegetable oil; heat until shimmering, about 1 minute.
- Add 1.5 pounds ground beef, season with 1/4 teaspoon salt and 1/4 teaspoon black pepper, and cook, breaking up the meat, until fully browned and crispy, about 5 to 7 minutes.
- Carefully drain excess fat from the skillet and return the beef to the pan.
- In a small bowl, whisk 2 tablespoons cornstarch with 3 tablespoons water until smooth to make a slurry.
- Reduce heat to medium, pour the sauce over the beef and stir for 1 minute to heat through.
- Stir in the cornstarch slurry and cook, stirring constantly, until the sauce thickens, about 30 seconds.
- If desired, add 1/4 teaspoon red pepper flakes and simmer for 2 to 3 more minutes, stirring occasionally.
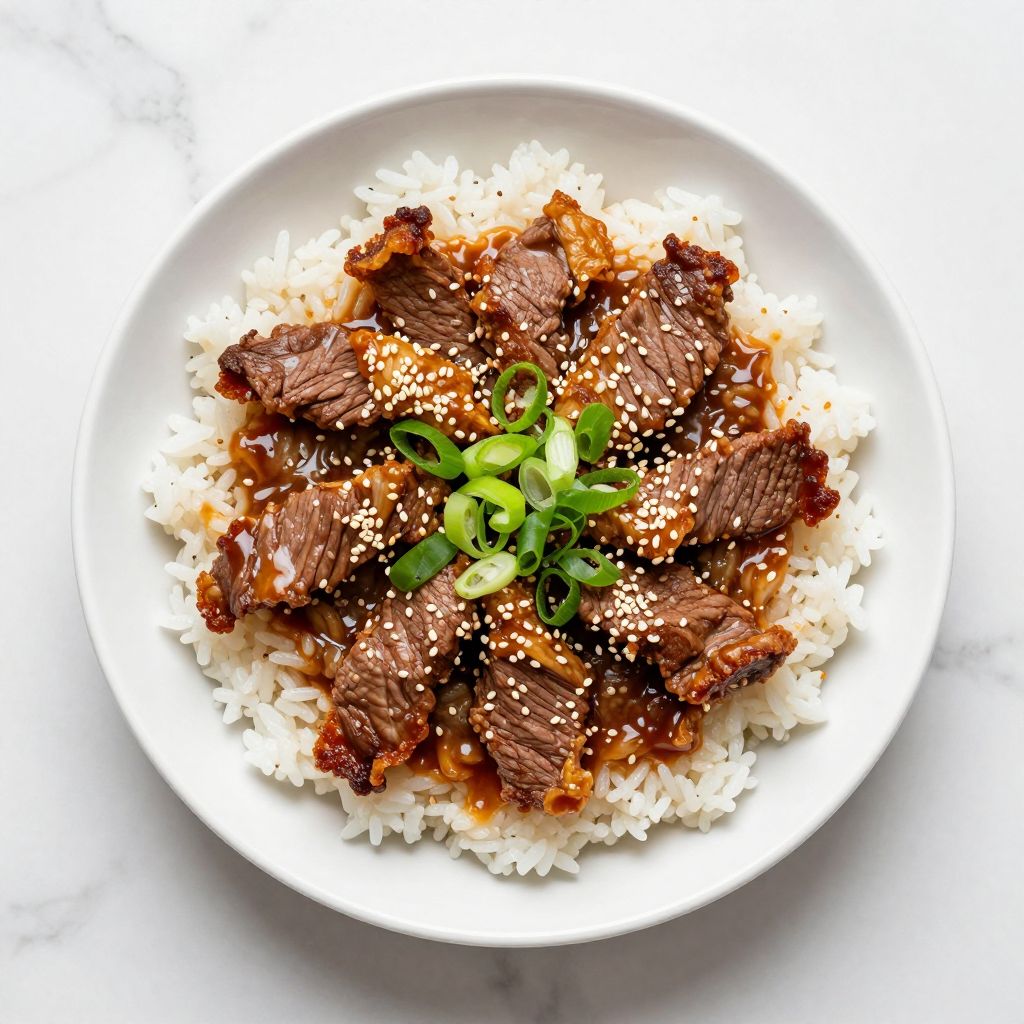
- Garnish with 3 sliced green onions and 1 tablespoon sesame seeds and serve immediately over steamed rice or noodles.