
Picture waking up to the smell of cinnamon and vanilla filling your kitchen before you’ve even poured your coffee. Overnight cinnamon rolls deliver that bakery-fresh magic without the pre-dawn alarm or the fuss, letting you sleep while the dough rises and develops deep, complex flavor.
These rolls are special because they combine make-ahead convenience with the taste of something you’ve spent hours perfecting. The long, slow rise transforms the dough into something impossibly tender and gives the filling time to meld with the bread, creating rolls that taste like they came from a professional bakery.
What makes this recipe stand out is the balance of soft, pillowy texture and rich cinnamon flavor, plus the flexibility to bake them fresh whenever you want. Whether you’re feeding a crowd on Sunday morning or sneaking one with your coffee before anyone else wakes up, this recipe adapts to your schedule, not the other way around.
Why You’ll Love This Recipe
This overnight method gives you a restaurant-quality cinnamon roll that fits into real life. You prep it the night before, refrigerate while you sleep, and wake up to rolls that are nearly ready to bake.
- Soft, pillowy texture that stays moist and tender for days
- Deep cinnamon flavor from the long, slow rise
- Flexible timing that works with your schedule
- Simple ingredients you likely already have on hand
- Makes your kitchen smell incredible
My Experience Making This Recipe
The first time I made these, I was skeptical that overnight rising would actually work. I prepped everything around 9 PM, tucked the baking dish into my fridge, and went to bed expecting to be disappointed.
When I pulled them out the next morning, the dough had puffed beautifully and the scent was so powerful I could smell it from my bedroom. The rolls baked to golden brown in about 25 minutes, and the first bite proved my doubt was completely misplaced.
My family has been requesting these constantly since then, and I’ve made them for holiday breakfasts, overnight guests, and countless lazy Sundays. People are always shocked when I tell them I made them the night before because they taste so fresh and professional.
Recipe Overview
- Recipe Name: Overnight Cinnamon Roll Recipe
- Servings: 12 rolls
- Prep Time: 20 minutes
- Chill Time: 8 to 12 hours
- Bake Time: 25 to 30 minutes
- Total Time: 8 to 12 hours plus 30 minutes active time
- Course: Breakfast or Dessert
- Cuisine: American
- Calories per Serving: 320
Equipment You Will Need
- 9×13-inch baking dish
- Large mixing bowl
- Stand mixer or mixing bowl with wooden spoon
- Measuring cups and spoons
- Rolling pin
- Sharp knife or bench scraper
- Oven thermometer (optional but recommended)
- Cooling rack
Ingredients for Overnight Cinnamon Rolls
For the Dough
- 1 cup whole milk, warmed to 110 degrees Fahrenheit
- 2 1/4 teaspoons active dry yeast (one standard packet)
- 1/2 cup granulated sugar
- 1/2 cup unsalted butter, melted
- 1 teaspoon salt
- 2 large eggs, room temperature
- 4 cups all-purpose flour
For the Cinnamon Filling
- 1/2 cup unsalted butter, softened to room temperature
- 1 cup brown sugar, packed
- 2 1/2 tablespoons ground cinnamon
For the Cream Cheese Frosting
- 4 ounces cream cheese, room temperature
- 2 tablespoons unsalted butter, room temperature
- 1 cup powdered sugar
- 1/2 teaspoon vanilla extract
- Pinch of salt
Ingredient Notes and Substitutions
- Whole milk creates a tender crumb and rich flavor, but you can substitute 2% milk with a slightly denser result. Half-and-half works too but makes the dough richer and slightly harder to handle.
- Active dry yeast is traditional and reliable for overnight rising. You can use instant yeast at the same measurement, though the rise may be slightly faster.
- Brown sugar in the filling adds molasses notes that deepen the cinnamon flavor. White sugar works but tastes flatter and less complex.
- Ground cinnamon should be fresh (less than six months old). Stale cinnamon tastes dusty and muted, so replace it if you’re unsure of the age.
- Cream cheese frosting is traditional, but you can make a simple vanilla glaze by whisking together 1 1/2 cups powdered sugar, 2 tablespoons milk, and 1/2 teaspoon vanilla extract.
How to Make Overnight Cinnamon Rolls
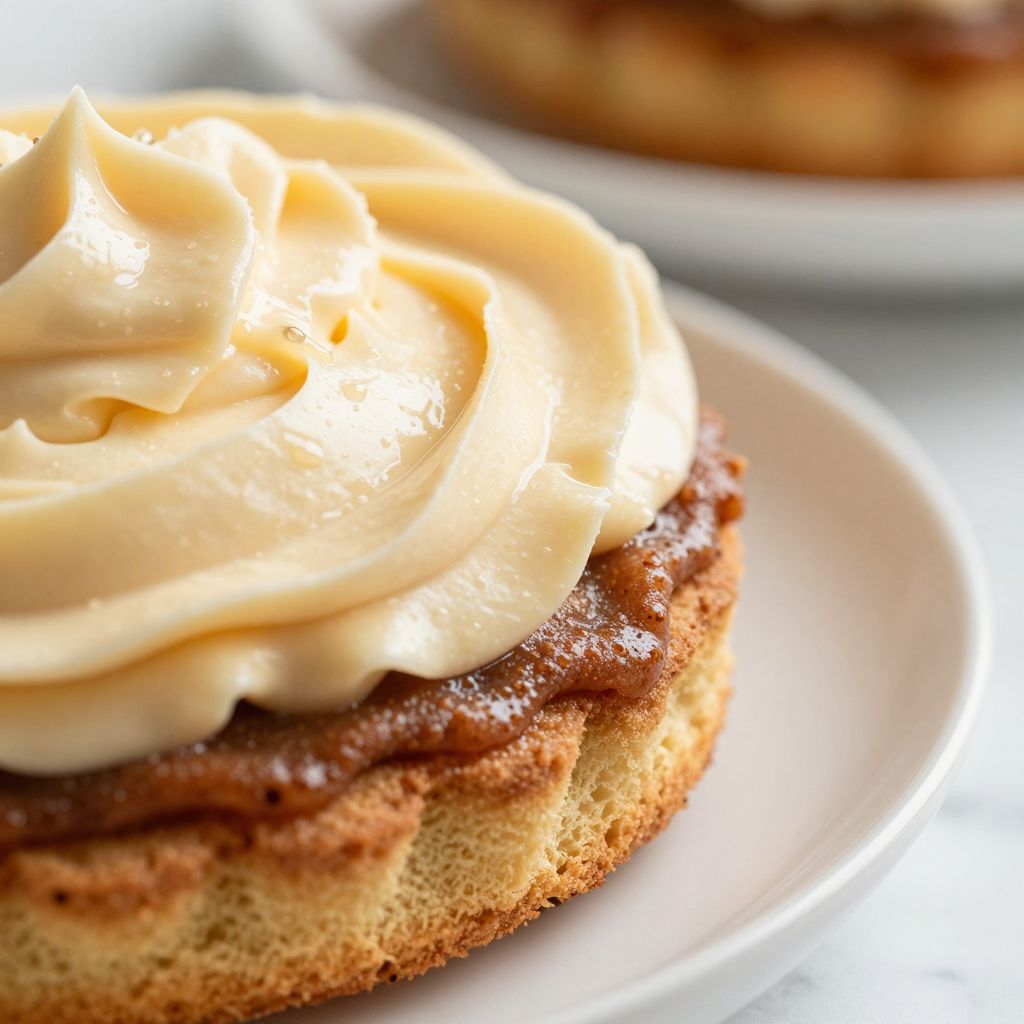
Step 1: Activate the Yeast
Pour the warm milk into a large mixing bowl and sprinkle the yeast over the top. Let it sit for 2 to 3 minutes without stirring, then whisk gently until the yeast dissolves completely.
Warm milk activates the yeast so it begins fermenting immediately, while cold milk would slow or stop the process. The warmth should feel like a comfortable bath temperature, not hot enough to kill the yeast.
Step 2: Build the Dough Base
Add the sugar, melted butter, salt, and eggs to the yeast mixture. Whisk everything together until well combined and the sugar has mostly dissolved.
These ingredients create a rich dough that rises reliably and produces a tender crumb. The eggs add structure and richness, while the butter contributes moisture and flavor that develops over the long rise.
Step 3: Add the Flour
Add the flour one cup at a time, mixing well after each addition. When the dough becomes too thick to stir by hand, switch to a stand mixer fitted with the dough hook or knead by hand on a lightly floured surface.
Gradual flour addition helps you control the dough consistency and avoid adding too much. You want a soft, slightly tacky dough that holds together but isn’t dry.
Step 4: Knead the Dough
Knead with the stand mixer on medium speed for 8 to 10 minutes, or by hand for 12 to 15 minutes, until the dough becomes smooth and elastic. The dough should bounce back slowly when you poke it with your finger.
Proper kneading develops gluten, which creates the structure that traps gas and produces those tender, fluffy layers. A stand mixer makes this much easier, but hand-kneading works perfectly fine.
Step 5: Prepare the Filling
Mix the softened butter, brown sugar, and cinnamon together in a small bowl until you have a thick paste. The mixture should spread easily but hold its shape.
Combining these ingredients now ensures even distribution throughout the rolls. If your butter is too cold, microwave it for 10-second intervals until it reaches spreading consistency.
Step 6: Roll and Fill the Dough
On a lightly floured surface, roll the dough into a 16×12-inch rectangle. Spread the cinnamon filling evenly over the entire surface, leaving a half-inch border at the far long edge.
The rectangle shape gives you consistent roll sizes, while leaving a border at the far edge makes sealing the dough easier. If the dough springs back, let it rest for 5 minutes and try again.
Step 7: Cut and Arrange the Rolls
Starting at the long edge closest to you, tightly roll the dough into a log. Pinch the seam to seal it, then cut the log into 12 equal pieces using a sharp knife dipped in water.
Tight rolling prevents the filling from leaking out during baking, while wet knife cuts seal the dough and prevent fraying. Place the rolls cut-side up in a 9×13-inch baking dish with space between each roll.
Step 8: Refrigerate Overnight
Cover the baking dish loosely with plastic wrap or foil. Refrigerate for at least 8 hours, preferably overnight.
The cold temperature slows fermentation dramatically, allowing the rolls to develop flavor without over-proofing. During this time, the dough ferments slowly and the cinnamon flavor melds into the bread.
Step 9: Bring to Room Temperature and Bake
Remove the rolls from the refrigerator 30 to 45 minutes before baking. Let them sit at room temperature until they’re puffy and spring back slowly when lightly poked, which means they’ve finished proofing.
This step is crucial because cold dough bakes unevenly and takes longer to develop the golden crust. Room temperature rolls bake evenly and achieve that perfect balance of crispy exterior and soft interior.
Step 10: Bake Until Golden
Preheat your oven to 350 degrees Fahrenheit. Bake the rolls for 25 to 30 minutes, until the tops are deep golden brown and the internal temperature reaches 190 degrees Fahrenheit.
The lower temperature compared to traditional cinnamon rolls ensures the rolls bake through without over-browning. A thermometer takes the guesswork out and guarantees perfectly baked rolls every time.
Step 11: Make the Frosting
While the rolls bake, beat the room-temperature cream cheese and butter together in a small bowl until light and fluffy. Add the powdered sugar, vanilla extract, and salt, beating until smooth.
Room-temperature ingredients blend smoothly without lumps, while cold cream cheese becomes grainy and difficult to spread. The frosting should taste sweet with a subtle tang from the cream cheese.
Step 12: Frost and Serve
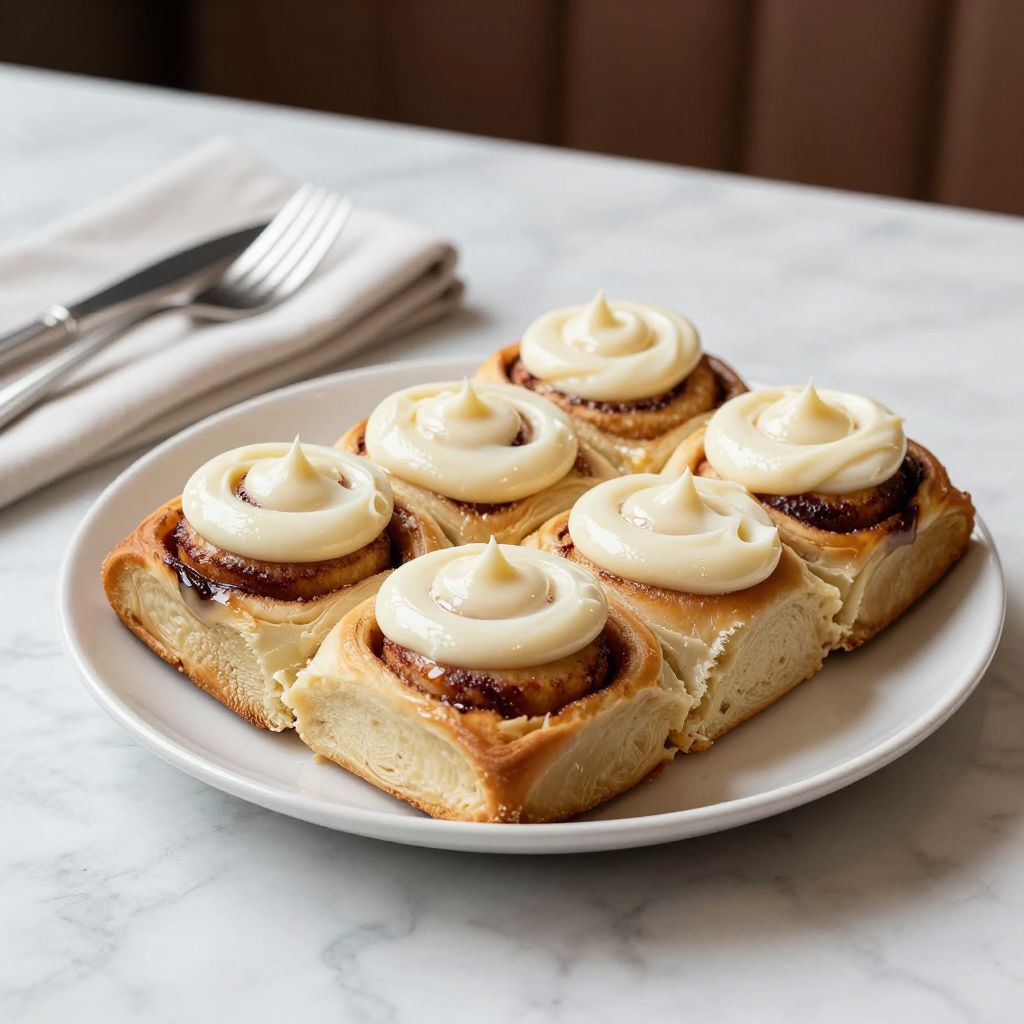
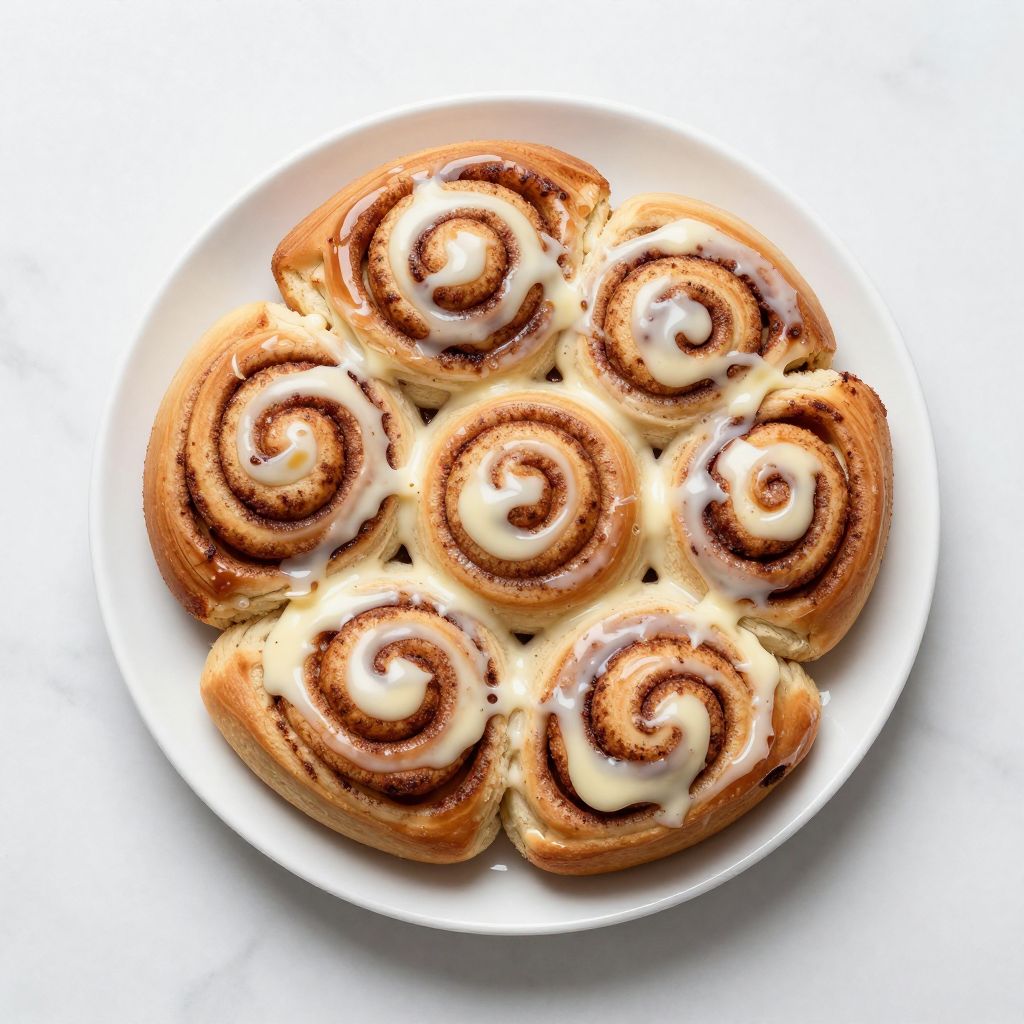
Remove the rolls from the oven and let them cool in the baking dish for 5 minutes. Spread the warm frosting over the warm rolls, letting it melt into all the crevices.
Frosting warm rolls gives you that melty, indulgent texture that makes these rolls irresistible. If you prefer a thicker frosting layer, chill it slightly before spreading.
Pro Tip: Don’t skip the room temperature proofing step in the morning. Rolls that go straight from the fridge into the oven bake unevenly and stay dense in the center.
Tips for the Best Overnight Cinnamon Rolls
- Use room-temperature milk, not hot. Milk that’s too hot kills the yeast, while milk that’s too cold won’t activate it.
- Don’t skip the hand rest before rolling if the dough springs back. A 5 to 10-minute rest relaxes the gluten and makes rolling much easier.
- Pack the rolls snugly in the baking dish but with a tiny bit of space between each one. Too tight and they’ll stick together unevenly; too loose and they’ll spread out and bake unevenly.
- Use a bench scraper or piece of dental floss to cut the rolls instead of a knife if you want perfectly round pieces. A wet knife works fine but floss prevents the dough from sticking and tearing.
- Measure your proofing accurately by checking how the rolls respond to a gentle poke. Properly proofed rolls should feel puffy and spring back slowly without deflating completely.
- Invest in an oven thermometer if you don’t have one. Many home ovens run 25 to 50 degrees off, which dramatically affects baking time and browning.
Common Mistakes to Avoid
- Skipping the room temperature proofing in the morning leads to dense, underbaked centers. Rushing this step sabotages everything you gained from the overnight rise.
- Using filling that’s too thin spreads unevenly and leaves some rolls without enough cinnamon flavor. Make sure your butter-sugar mixture is thick enough to spread but soft enough to apply without tearing the dough.
- Overbaking the rolls leaves them dry and tough. Start checking at 22 minutes and look for golden brown, not dark brown.
- Refrigerating rolls longer than 16 hours can cause over-proofing and a yeasty, sour taste. If you need to make them further ahead, freeze them instead.
- Applying frosting to completely cooled rolls means it won’t melt and create that luxurious coating. Frosting works best when the rolls are still warm.
Serving Suggestions
These rolls shine on their own but taste even better with the right accompaniments. Pair them with coffee, milk, or fresh juice for the ultimate breakfast experience.
- Serve with strong black coffee or espresso for a sophisticated flavor pairing that balances the sweetness
- Add a side of fresh fruit like strawberries, blueberries, or sliced peaches for brightness and balance
- Pair with crispy bacon or sausage links to make breakfast feel complete and indulgent
- Serve with scrambled eggs or a vegetable frittata to create a well-rounded breakfast spread
- Offer a glass of cold milk for kids or those who prefer something creamy and mild alongside the rolls
Variations to Try
- Maple pecan rolls: Add 1/2 cup chopped pecans to the cinnamon filling and drizzle with maple syrup instead of frosting for a nutty, sophisticated flavor.
- Brown butter sage rolls: Brown the butter before mixing the filling and add 1 tablespoon of finely minced fresh sage for an unexpected savory-sweet combination.
- Chocolate cinnamon rolls: Mix 1/4 cup mini chocolate chips into the cinnamon filling for rolls that taste like a dessert breakfast.
- Cardamom cinnamon rolls: Replace half the cinnamon with ground cardamom for a warmer, more complex spice profile that’s popular in Scandinavian baking.
- Orange cream cheese frosting: Add 1 tablespoon of fresh orange zest and 1 tablespoon of fresh orange juice to the cream cheese frosting for a citrusy, bright version.
Dietary Adaptations
- Gluten-free: Substitute 1-to-1 gluten-free flour blend, but add an extra tablespoon of milk to the dough since gluten-free flour absorbs more liquid. The texture will be slightly less fluffy but still delicious.
- Dairy-free: Use unsweetened oat milk in place of whole milk, dairy-free butter for all butter measurements, and make frosting with dairy-free cream cheese and butter. The flavor remains nearly identical.
- Vegan: Follow the dairy-free substitutions above and replace the eggs with 2 flax eggs (2 tablespoons ground flaxseed mixed with 6 tablespoons water, let sit 15 minutes). The dough will be slightly softer but rises beautifully.
- Low-carb or keto: This recipe doesn’t adapt well to low-carb because the base is bread. Consider making keto-friendly cinnamon rolls using a keto bread dough as your starting point instead.
Storage and Reheating
Refrigerator
Store baked, frosted rolls in an airtight container or wrapped tightly in plastic wrap for up to 5 days. They stay moist and maintain their texture beautifully in cold storage.
- Let rolls come to room temperature before eating for the best texture
- Microwave individual rolls for 15 to 20 seconds for a quick warm-up
- Reheat the entire container in a 300-degree oven for 10 minutes for even warming
Freezer
Freeze unbaked rolls in the baking dish covered with plastic wrap and foil for up to 3 months. Alternatively, freeze baked rolls in an airtight container for up to 2 months.
- Unbaked frozen rolls can go straight into the oven from the freezer with an extra 15 to 20 minutes of bake time
- Thaw frozen baked rolls overnight in the refrigerator before reheating
- Freeze rolls without frosting and add fresh frosting after reheating for the best flavor
Reheating
Reheating method matters more than you’d think. An oven is gentler on texture than a microwave, though microwaves work fine in a pinch.
- Wrap foil loosely around rolls before oven reheating to prevent over-browning
- Heat at 300 degrees Fahrenheit for 8 to 10 minutes until warmed through
- Microwave individual rolls for 15 to 30 seconds, checking halfway through to avoid overheating
Nutrition Information
| Nutrient | Amount |
|---|---|
| Calories | 320 |
| Total Fat | 14 grams |
| Saturated Fat | 8 grams |
| Carbohydrates | 42 grams |
| Fiber | 1 gram |
| Sugar | 18 grams |
| Protein | 6 grams |
| Sodium | 285 milligrams |
| Cholesterol | 40 milligrams |
These values are estimates based on standard ingredient sizes and don’t account for variations in brands or measurement precision. Nutritional content can vary depending on your specific ingredients and how densely you pack the rolls.
Frequently Asked Questions
Can I make the rolls and bake them the same day?
Yes, but you’ll miss the deep flavor development that overnight rising provides. If you need rolls the same day, let the shaped rolls rise at room temperature for 2 to 3 hours until puffy, then bake as directed.
What if my rolls are still doughy in the center after baking?
This usually means they weren’t fully proofed before baking or your oven temperature is off. Check that rolls are puffy and spring back slowly before baking, and use an oven thermometer to verify your oven temperature.
Can I freeze the dough before shaping?
You can, but it’s less convenient than freezing shaped rolls. Freeze the dough for up to 3 months, thaw overnight in the refrigerator, then shape and proceed with the overnight rise.
Why did my rolls turn out dense instead of fluffy?
Dense rolls usually come from under-proofing, over-kneading, or old yeast that didn’t ferment properly. Check your yeast expiration date and make sure rolls are puffy before baking.
Can I make these rolls without a stand mixer?
Absolutely, though hand-kneading takes longer and requires more elbow grease. Mix the dough by hand, then knead on a lightly floured surface for 12 to 15 minutes until smooth and elastic.
How do I prevent the cinnamon from clumping in the filling?
Make sure your butter is soft enough to mix easily with the brown sugar and cinnamon. Hard butter creates pockets of unmixed cinnamon, while properly softened butter distributes the spice evenly.
What’s the difference between active dry yeast and instant yeast?
Instant yeast has slightly smaller granules and ferments a bit faster, but both work for this recipe at the same measurement. Some bakers prefer instant for overnight doughs because fermentation is slightly more predictable.
Final Thoughts
Overnight cinnamon rolls have completely changed how I approach breakfast, turning what seems like a laborious baking project into something genuinely easy and stress-free. The combination of make-ahead convenience and bakery-quality results makes this recipe a permanent fixture in my weekend rotation.
Your first batch will prove that you don’t need special skills or fancy equipment to make rolls that rival professional bakeries. Make them once and you’ll understand why this method has become so popular with home bakers everywhere.
Explore More Cinnamon Roll Recipes
If you loved this recipe, you’ll want to explore more ways to enjoy cinnamon rolls at home. Check out these similar recipes that deliver that same warm, comforting experience.
Try making a giant fluffy cinnamon roll for an extra-indulgent treat, or elevate your breakfast with cinnamon roll cheesecake that combines two beloved desserts into one show-stopping dish.
Overnight Cinnamon Roll Recipe
Ingredients
Equipment
Method
- Pour warm milk into a large mixing bowl, sprinkle yeast on top and let sit for 3 minutes, then whisk until dissolved.
- Add sugar, melted butter, salt, and eggs to the yeast mixture and whisk until combined.
- Add flour one cup at a time, stirring after each addition, until the dough is too thick to stir.
- Knead the dough with a stand mixer on medium speed for 8 minutes or by hand for 12 minutes until smooth and elastic.
- Mix softened butter, brown sugar, and cinnamon in a small bowl to form a thick paste for the filling.
- Roll dough on a lightly floured surface into a 16x12-inch rectangle, then spread cinnamon filling evenly, leaving a 1/2-inch border.
- Starting at the long edge, tightly roll the dough into a log, pinch to seal, and cut into 12 equal pieces with a wet sharp knife.
- Place rolls cut-side up in a 9x13-inch baking dish, cover loosely with plastic wrap, and refrigerate for 8 to 12 hours.
- Remove rolls from the refrigerator 30 minutes before baking and let sit at room temperature until puffy.
- Preheat oven to 350°F and bake rolls for 25 minutes until golden brown and internal temperature reaches 190°F.
- While rolls bake, beat cream cheese and butter until light, then add powdered sugar, vanilla, and salt and mix until smooth.
- Let baked rolls cool for 5 minutes, then spread warm frosting over the top and serve immediately.