
Picture this: a jar of bright green beans soaking in a tangy, garlicky brine, just waiting for a snack or a side dish to elevate your meal. This Dilly Beans Recipe is not only a delicious way to preserve those summer-fresh beans, but it also adds a delightful crunch and flavor burst to your table all year round.
You’ll love how easy it is to make these pickled delights at home. With a balance of zesty dill, sharp garlic, and a splash of vinegar, they’re incredibly versatile and can be enjoyed straight from the jar, as part of a charcuterie board, or tossed into salads.
Why You’ll Love This Recipe
This recipe is a must-try for anyone who loves pickles or wants to make the most of their garden harvest.
- Quick to prepare and requires minimal ingredients.
- Adds a zingy crunch to any dish.
- Great way to preserve beans for long-term enjoyment.
- Customizable with various spices and herbs.
My Experience Making This Recipe
The first time I made these dilly beans, the aroma of fresh dill and pickling spices filled my kitchen, and I couldn’t wait to try them. My friends raved about the flavor, and I ended up sending jars home with them.
Each time I crack open a jar, I’m transported back to summer picnics, where these crunchy delights were the star of the show. The combination of tartness and crispiness turns humble green beans into a gourmet treat.
Recipe Overview
- Recipe Name: Dilly Beans
- Servings: About 4 pint jars
- Prep Time: 15 minutes
- Cook Time: 10 minutes
- Total Time: 25 minutes
- Course: Appetizer, Snack
- Cuisine: American
- Calories per Serving: Approximately 25
Equipment You Will Need
- Large pot for boiling
- Ball jars with lids
- Jar lifter
- Canning funnel
- Measuring cups and spoons
- Chopping board and knife
Ingredients for Dilly Beans
- 2 pounds fresh green beans, trimmed
- 3 cups distilled white vinegar
- 3 cups water
- 1/4 cup kosher salt
- 4 cloves garlic, peeled
- 4 tablespoons dill seeds or 4 bunches of fresh dill
- 1/2 teaspoon red pepper flakes (optional)
Ingredient Notes and Substitutions
- Green Beans: Fresh beans add a crisp texture; snap peas can be a fun substitute for a different crunch.
- Distilled White Vinegar: This bright vinegar gives flavor; apple cider vinegar is a nice swap for a fruity undertone.
- Kosher Salt: Used for preserving; table salt can work but may add anti-caking agents.
- Dill: Fresh dill is preferred for its fragrant aroma; dried dill can substitute but will be less intense.
How to Make Dilly Beans
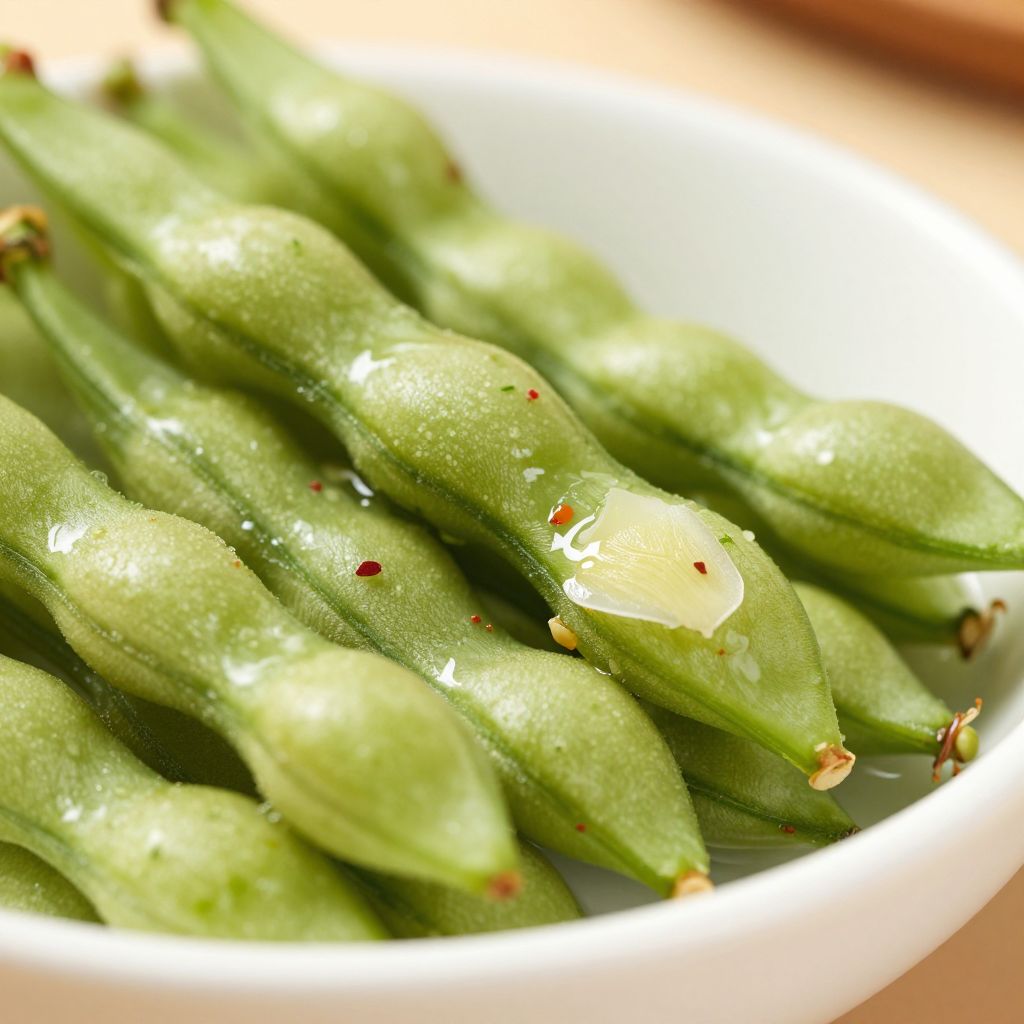
Step 1: Prepare the Jars
Start by sterilizing your jars and lids in boiling water for about 10 minutes. This step is vital to prevent spoilage and keep your beans crunchy.
Step 2: Trim the Beans
Wash and trim your green beans to fit snugly in the jars. Make them around 4 to 5 inches long for ideal texture and presentation.
Step 3: Make the Brine
In a large pot, combine vinegar, water, and salt. Heat over medium-high until boiling, which dissolves the salt and infuses the mixture with flavor.
Step 4: Pack the Jars
Carefully pack the green beans vertically into each sterilized jar, leaving about half an inch of headspace at the top.
Step 5: Add Flavor
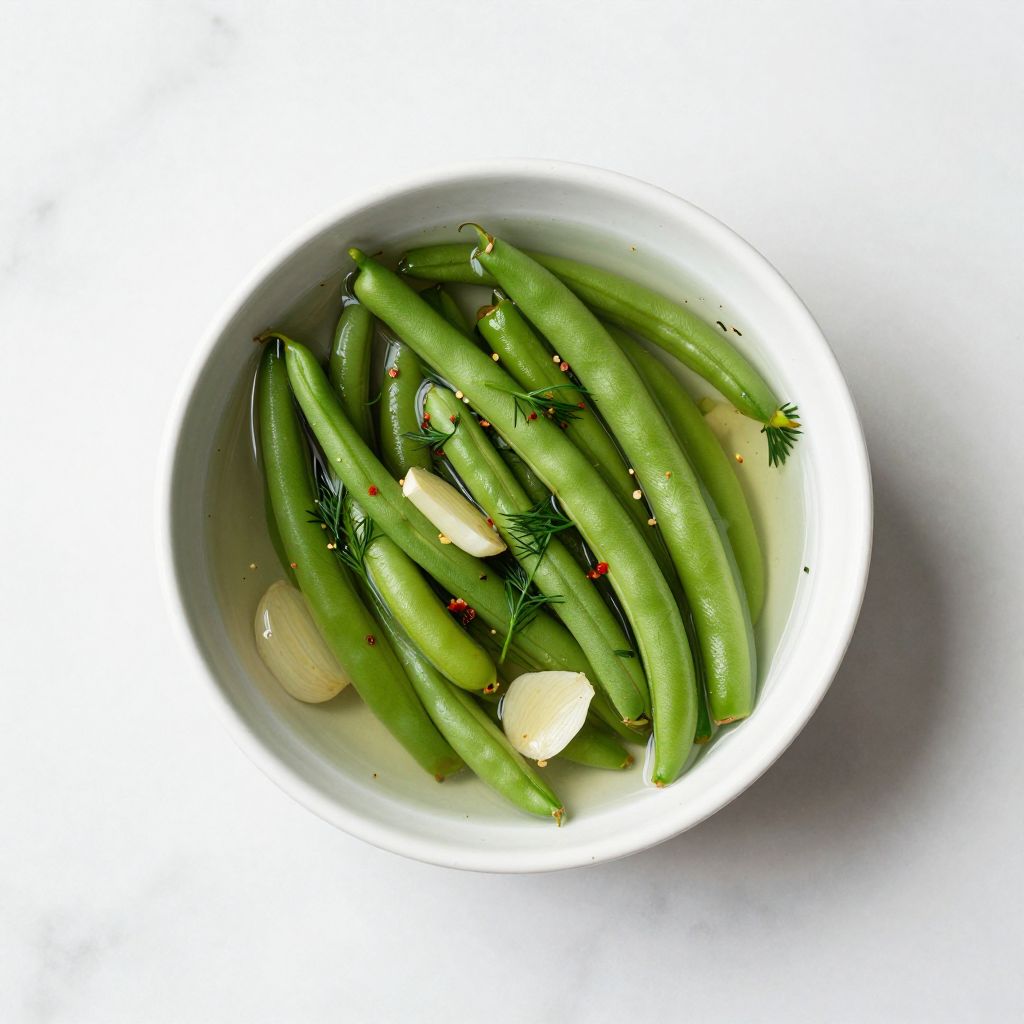
Place a clove of garlic, a tablespoon of dill seeds (or a bunch of fresh dill), and a pinch of red pepper flakes into each jar. This is where the magic happens.
Step 6: Fill with Brine
Pour the hot brine over the beans in each jar, making sure to cover them completely. Leave half an inch of headspace to allow for expansion during cooling.
Step 7: Seal the Jars
Wipe the rims of the jars with a clean cloth to ensure a good seal. Place the sterilized lids on and screw on the metal bands just until they’re fingertip-tight.
Step 8: Process the Jars
Process the jars in a boiling water bath for about 10 minutes. This step is important for shelf-stability and enhances the flavors.
Pro Tip: Always use fresh, crisp beans for the best texture in your dilly beans.
Tips for the Best Dilly Beans
- Adjust spices to your taste; feel free to add mustard seeds or coriander for more complexity.
- Pack beans tightly, but not too tight, to ensure brine penetrates each bean.
- Let jars sit for at least a week before tasting; this allows flavors to meld beautifully.
- Store the jars in a cool, dark place for longevity; this helps maintain flavor and texture.
- A clean workspace makes canning easier and more enjoyable; trust me, you want that!
Common Mistakes to Avoid
- Not sterilizing jars properly can lead to spoilage; always prioritize cleanliness.
- Overfilling jars may cause brine leaks during processing; stick to headspace guidelines.
- Skipping the boiling water bath risks unsealed jars; be diligent and avoid waste.
- Using stale spices can dull the flavor; always opt for fresh ingredients when possible.
Serving Suggestions
Dilly beans are so versatile that they fit into various meals seamlessly.
- Serve them as a crunchy appetizer paired with cheeses and meats.
- Slice them into salads for an exciting twist.
- Mix them into pasta dishes for added flavor and texture.
- Use them as a garnish in cocktails, particularly in bloody marys.
Variations to Try
- Try adding carrots alongside the beans for a colorful mix.
- For a spicy kick, include slices of jalapeno in the jar.
- Experiment with thyme or oregano for a different herbal note.
- Swap out some beans for asparagus for an elegant touch.
Dietary Adaptations
- Gluten-Free: This recipe is naturally gluten-free.
- Dairy-Free: No dairy is used, making it vegan friendly.
- Low-Carb/Keto-Friendly: Low in carbohydrates, perfect for keto diets.
Storage and Reheating
Refrigerator
Once opened, store your dilly beans in the refrigerator.
- Keep them sealed in the jar to maintain freshness.
- Consume within 1-2 months for the best flavor.
Freezer
Canned dilly beans can live in the pantry indefinitely.
- Freezing is not recommended as it alters the texture.
Reheating
No reheating is necessary, as they are meant to be enjoyed cold or at room temperature.
- Just pop open a jar and enjoy the crunch!
Nutrition Information
| Nutrient | Amount |
|---|---|
| Calories | 25 |
| Total Fat | 0g |
| Saturated Fat | 0g |
| Carbohydrates | 6g |
| Fiber | 2g |
| Sugar | 2g |
| Protein | 1g |
| Sodium | 500mg |
| Cholesterol | 0mg |
This nutrition information is an estimate and may vary based on ingredient brands and specific measurements.
Frequently Asked Questions
Can I use other vegetables for pickling?
Yes, veggies like carrots, cauliflower, and asparagus make great substitutes and additions.
How long do I have to wait before eating them?
It’s best to wait at least a week for flavors to meld before cracking open a jar.
Can I make these ahead of time?
Absolutely! These can be made weeks in advance and stored as long as they are sealed correctly.
What if my beans float in the brine?
Some floating is normal; just make sure they are submerged for best flavor and preservation.
Can I modify the spice levels?
For sure! Adjust the red pepper flakes to suit your preference for heat.
Final Thoughts
Making your own dilly beans is a fun and rewarding experience that bridges seasonal ingredients with lasting flavor. They truly bring the joy of summer into any dish throughout the year.
I hope you give this recipe a try and enjoy crunching into those zesty beans as much as I do!
Explore more about pickling and canning with our other articles, like this Claussen Pickle Recipe or dive into our sweet and spicy Cowboy Candy Recipe.
Dilly Beans
Ingredients
Equipment
Method
- Sterilize jars and lids by boiling them in water for 10 minutes.
- Wash and trim green beans to 4–5 inch lengths.
- In a large pot over medium-high heat, combine vinegar, water, and kosher salt and bring to a rolling boil, about 5 minutes.
- Pack beans vertically into each sterilized jar, leaving 1/2 inch headspace.
- Add to each jar 1 clove garlic, 1 tablespoon dill seeds or a bunch of fresh dill, and a pinch of red pepper flakes.
- Pour hot brine over the beans, maintaining 1/2 inch headspace.
- Wipe jar rims, place lids, and screw bands fingertip-tight.
- Process jars in a boiling water bath for 10 minutes, then remove and cool completely.
- Let jars sit for at least 1 week before opening to allow flavors to develop.